- Layout Step: Represent your natural terrain
- Exterior Step: Design your finished land
- Indications Step: Customize your site plan
- Going Further - Practical Cases (Examples)
Layout Step: Natural Terrain
In the first step of the software, you will be able to create your natural terrain through a dedicated menu, particularly by defining the elevations in different parts of your project.
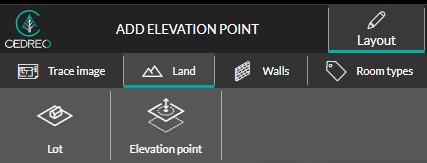
By adding elevation points, you can represent the topography of your terrain freely or based on a terrain visualization (layer).
> Add elevation points to represent a slope of the terrain.
> Draw a terrain using an image
The second important functionality of the Terrain Module in the "Layout" step concerns your building. A dedicated menu called "Building location" aims to position your building precisely, both horizontally and vertically. ![]()
[To learn more:] Put the house on the terrain.
Exterior Step: Finished Terrain
-
Draw the basic plan of the terrain and its environment
Once your elevations are defined (if there are any! 🙂) and your house is positioned, you can create the different spaces of your project.
Two main menus in the "Exterior" step will allow you to accomplish this.
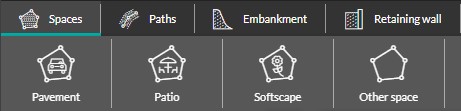
- The tools in the "Spaces" menu are dedicated to creating ground areas separate from the house: pavement (parking), courtyard (patio), softscape, etc.
- The tools in the "Paths" menu are dedicated to creating access ways such as driveways, walkways, etc.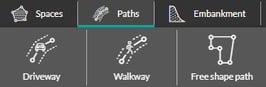
❗ To manage these different tools, it is important to know how to handle the various types of elevation.
-
Refine your landscaping (embankment, retaining walls, terrace, etc.)
Once your main areas are defined (in "spaces" or "paths"), you can refine the finished appearance of your land:
- You can enhance the aesthetics of your regions or pathways by customizing the presence of borders.
- You can also manage retaining elements on sloped terrain using the "Embankment" or "Retaining Wall" tool. ![]()
❗ To refine your landscaping, the deck has its own dedicated menu. ![]()
-
Mark the boundaries of your property
![]() The last menu in the Exterior step allows you to represent the different boundaries of your project (especially if you have traced your plot in the "Trace" step).
The last menu in the Exterior step allows you to represent the different boundaries of your project (especially if you have traced your plot in the "Trace" step).
![]() The "Hedge" and "Low wall" tools, working on the same principles, will be useful for this task.
The "Hedge" and "Low wall" tools, working on the same principles, will be useful for this task.
Indications Step: Your Site Plan
With the features of the Terrain Module, you can further customize your plans. In the dedicated step, from any menu, at the 'Terrain' level, you can click on the different elements traced in the 'Exterior' step.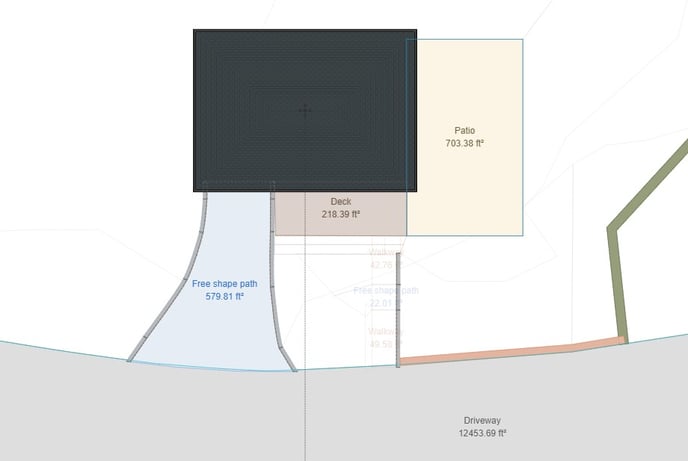
- Elements displayed by default: paths (driveway, walkway, free shape path), embankment, retaining walls, property boundaries, deck
- Elements not displayed by default: spaces (pavement, patio, softscape, other...), embankment.
Several options will allow you to customize the appearance and information of your plan to the fullest extent:
Display or hide the surface area, name, font, text size and color, background, etc.
Going Further - Practical Cases
Finally, feel free to check out these tutorials to discover concrete examples of applying the various information mentioned earlier: