⚠️ In this tutorial, the most important information to remember is that it is the layout of your ground level that "digs" your slope.
1. Represent the slope of the land. To do this, if necessary, consult our tutorials dedicated to adding elevation points and representing a slope.
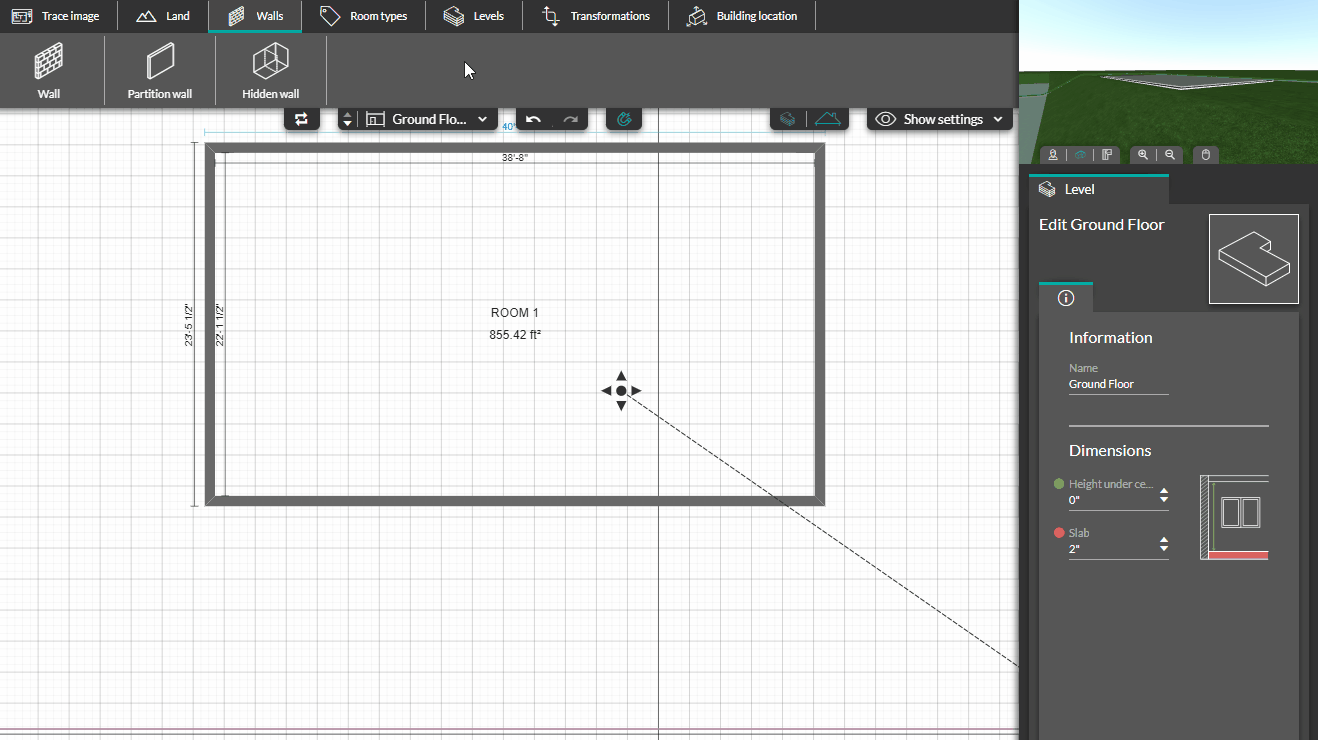
2. Draw the walls of the ground floor so that the drawn surface corresponds to the ground level (on the flat part of the project).
3 . Modify the height of the ground floor (in the example here, 0' Height under ceiling and 2" for slab). The idea is to have a slab that will serve as a base for the project.

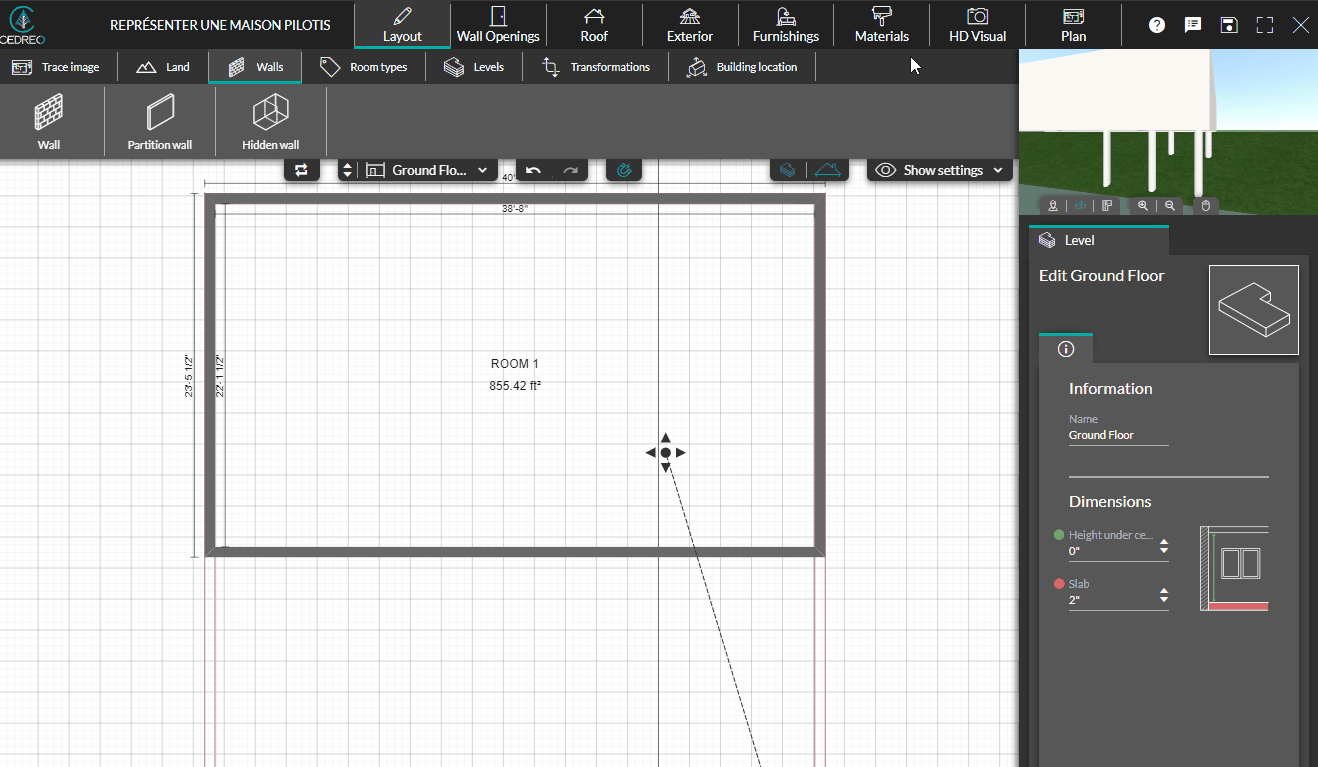
4. Once the "slab" has been created, add a level of conventional dimensions (here, 8' Height Under Ceiling + 8" slab). This time, represent the total surface of your project.
5. While still on added floor click on the part of the wall that will need stilts and extend it out beyond the slab level.
6. To arrange the project (pilings), go to the "Materials" step to use the "Shape" tool.
7. Adjust the position on your work area and its "Dimensions" (especially elevation) in the right column.
ℹ️ Consult this tutorial if you arenot used to using shapes.