Draw a deck in Exterior step [Terrain Module]
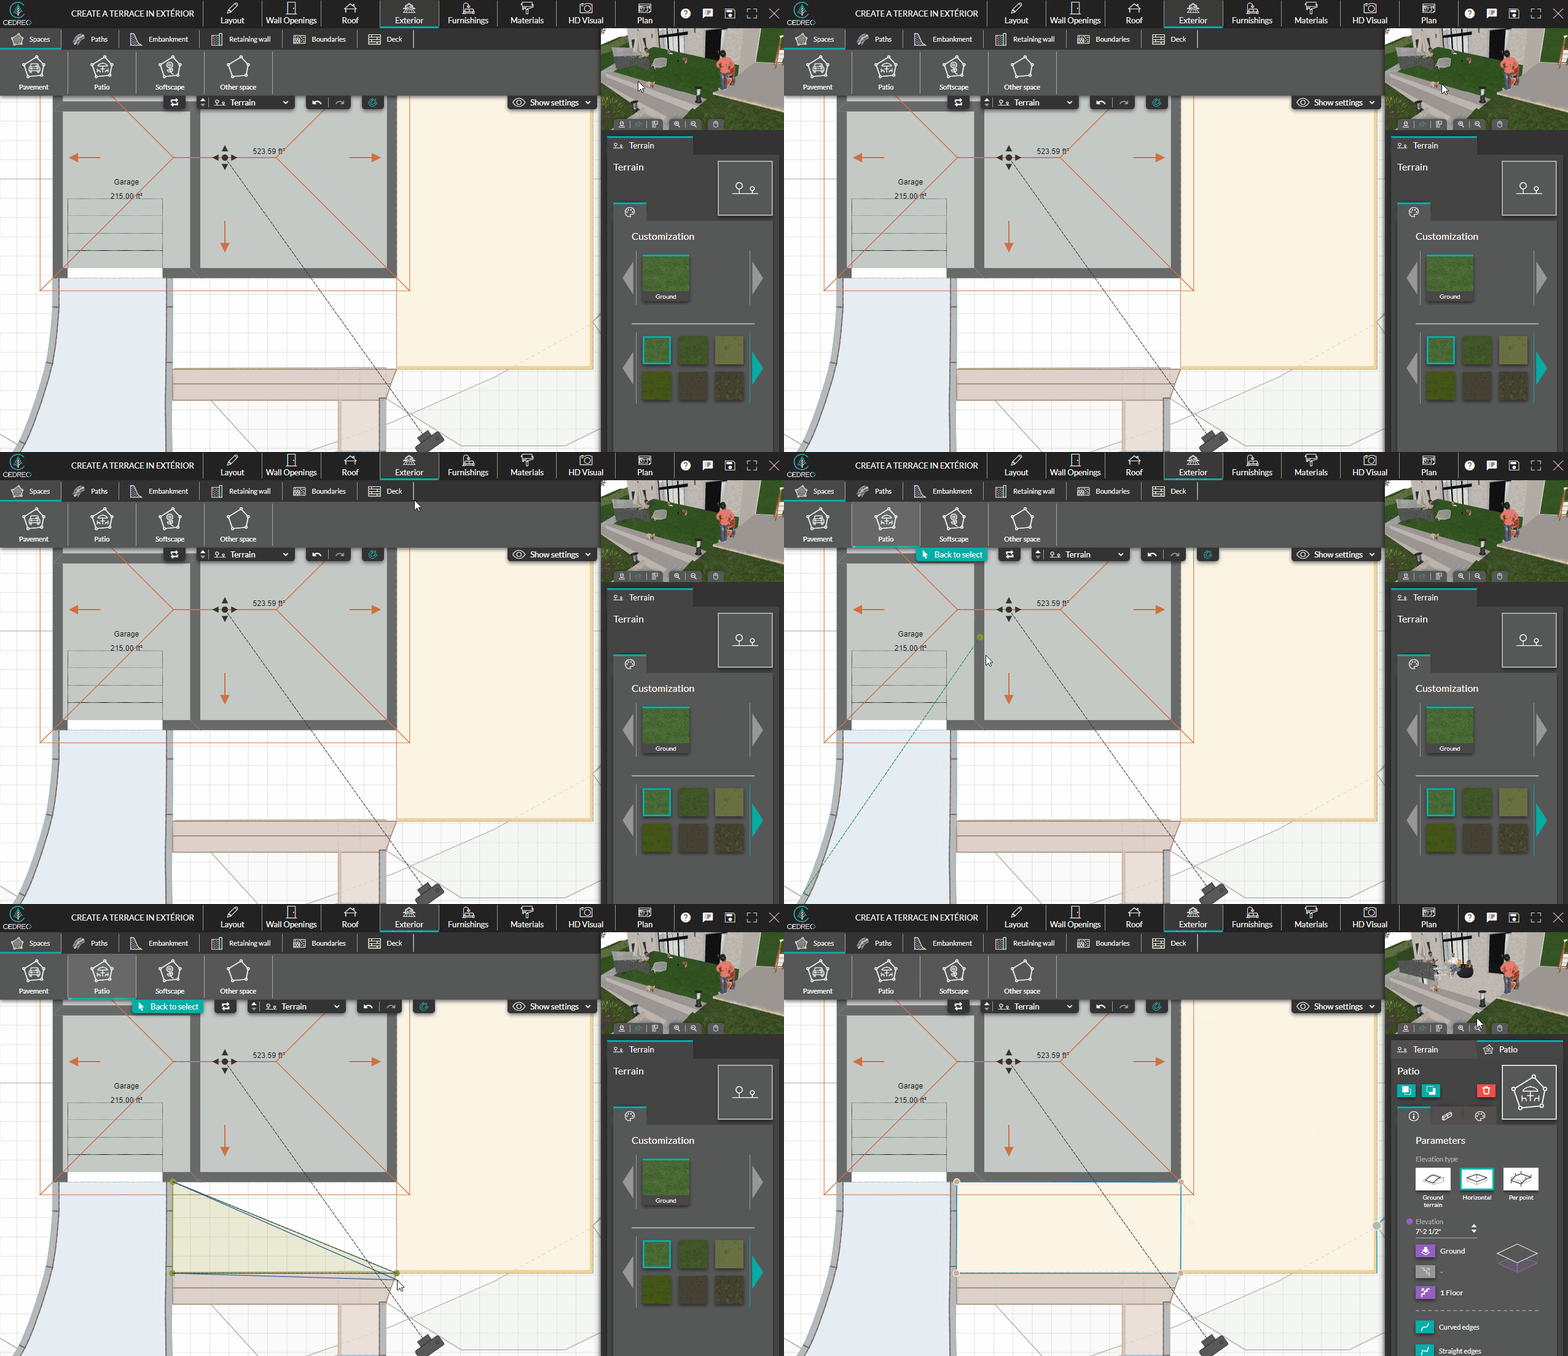
Once the ground is leveled, a terrace can be represented, with or without adding a deck skirt, both the 2D (plan) and 3D steps.
❗Note that on a sloping terrain, you will first need to flatten your terrain with the "patio" tool for example > See our "Draw exterior spaces" tutorial.

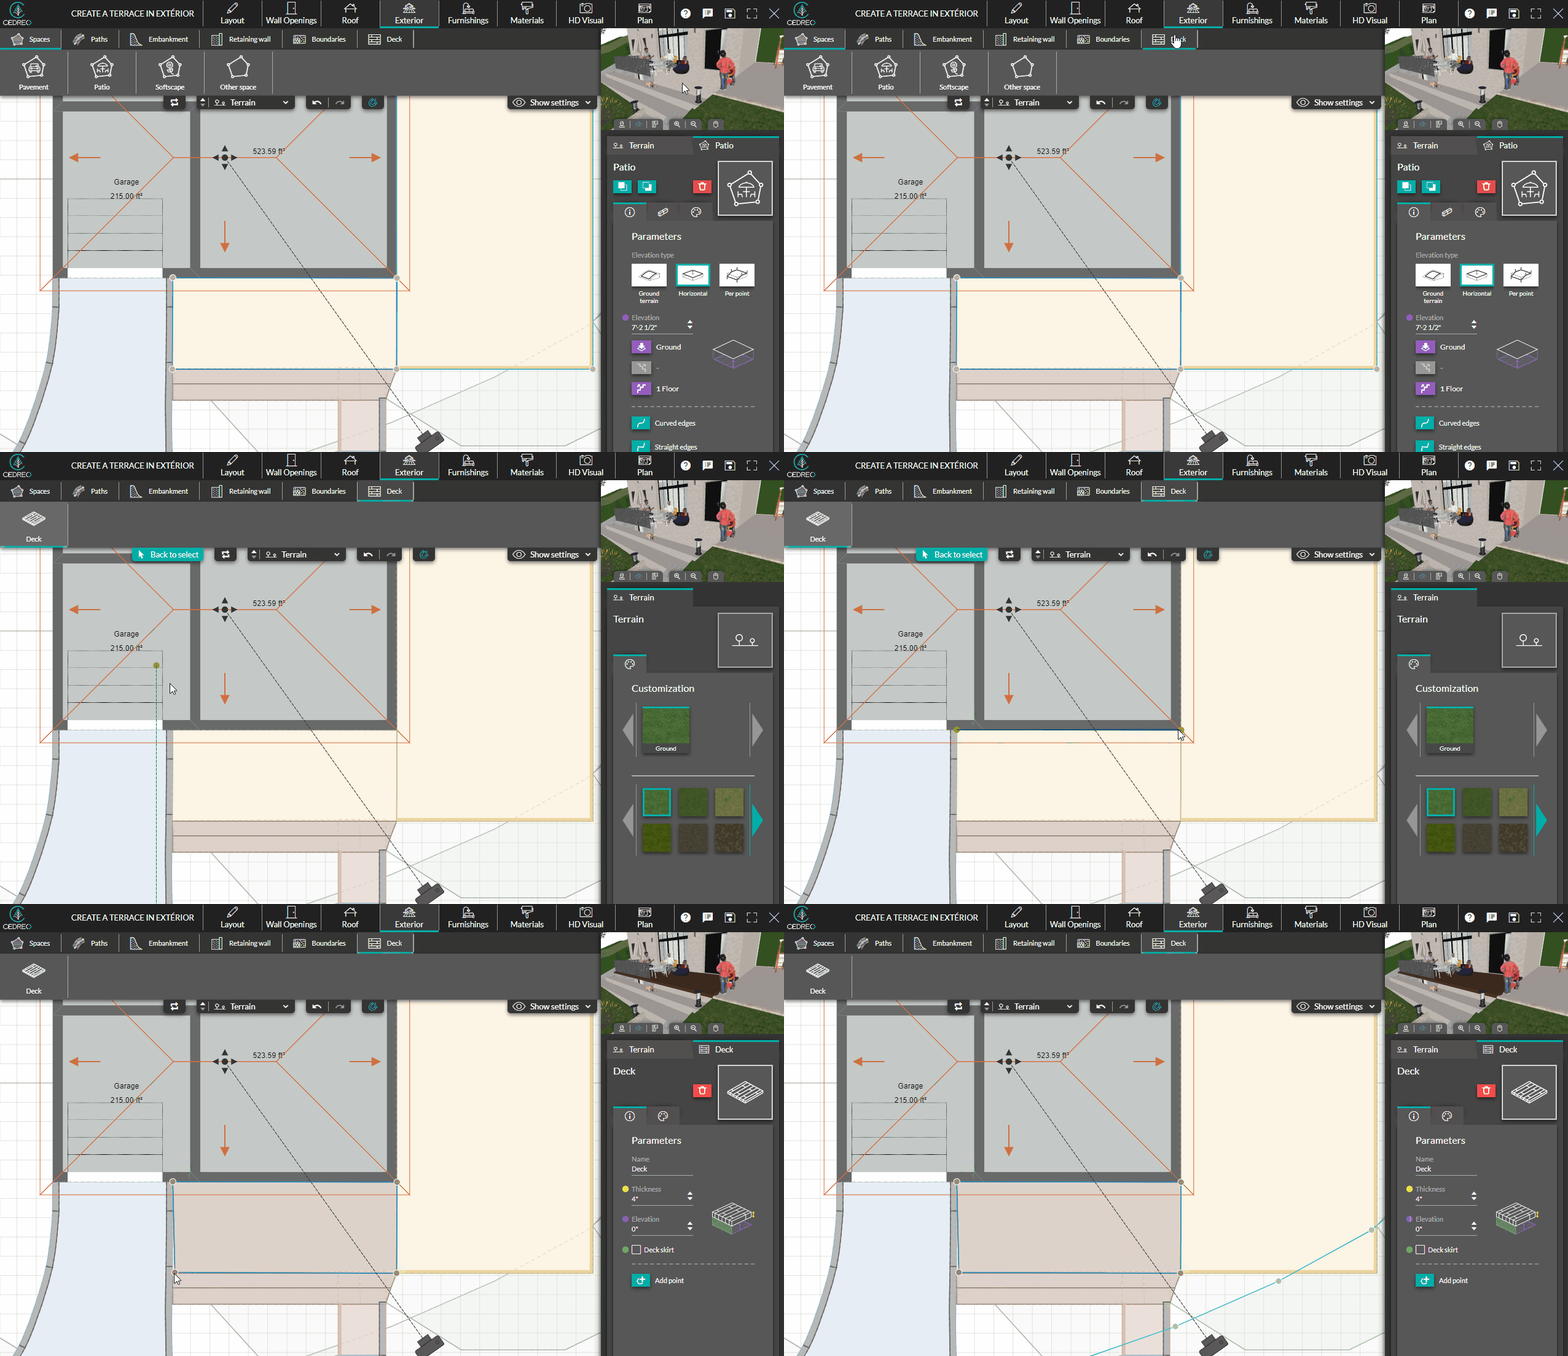
1. In the step "Exterior", under the menu "Deck", select the dedicated tool.
2. Draw the deck on the desired location but keep in mind "1 click = 1 turn".
3. Complete the layout of the deck by double clicking on the last point of the space..

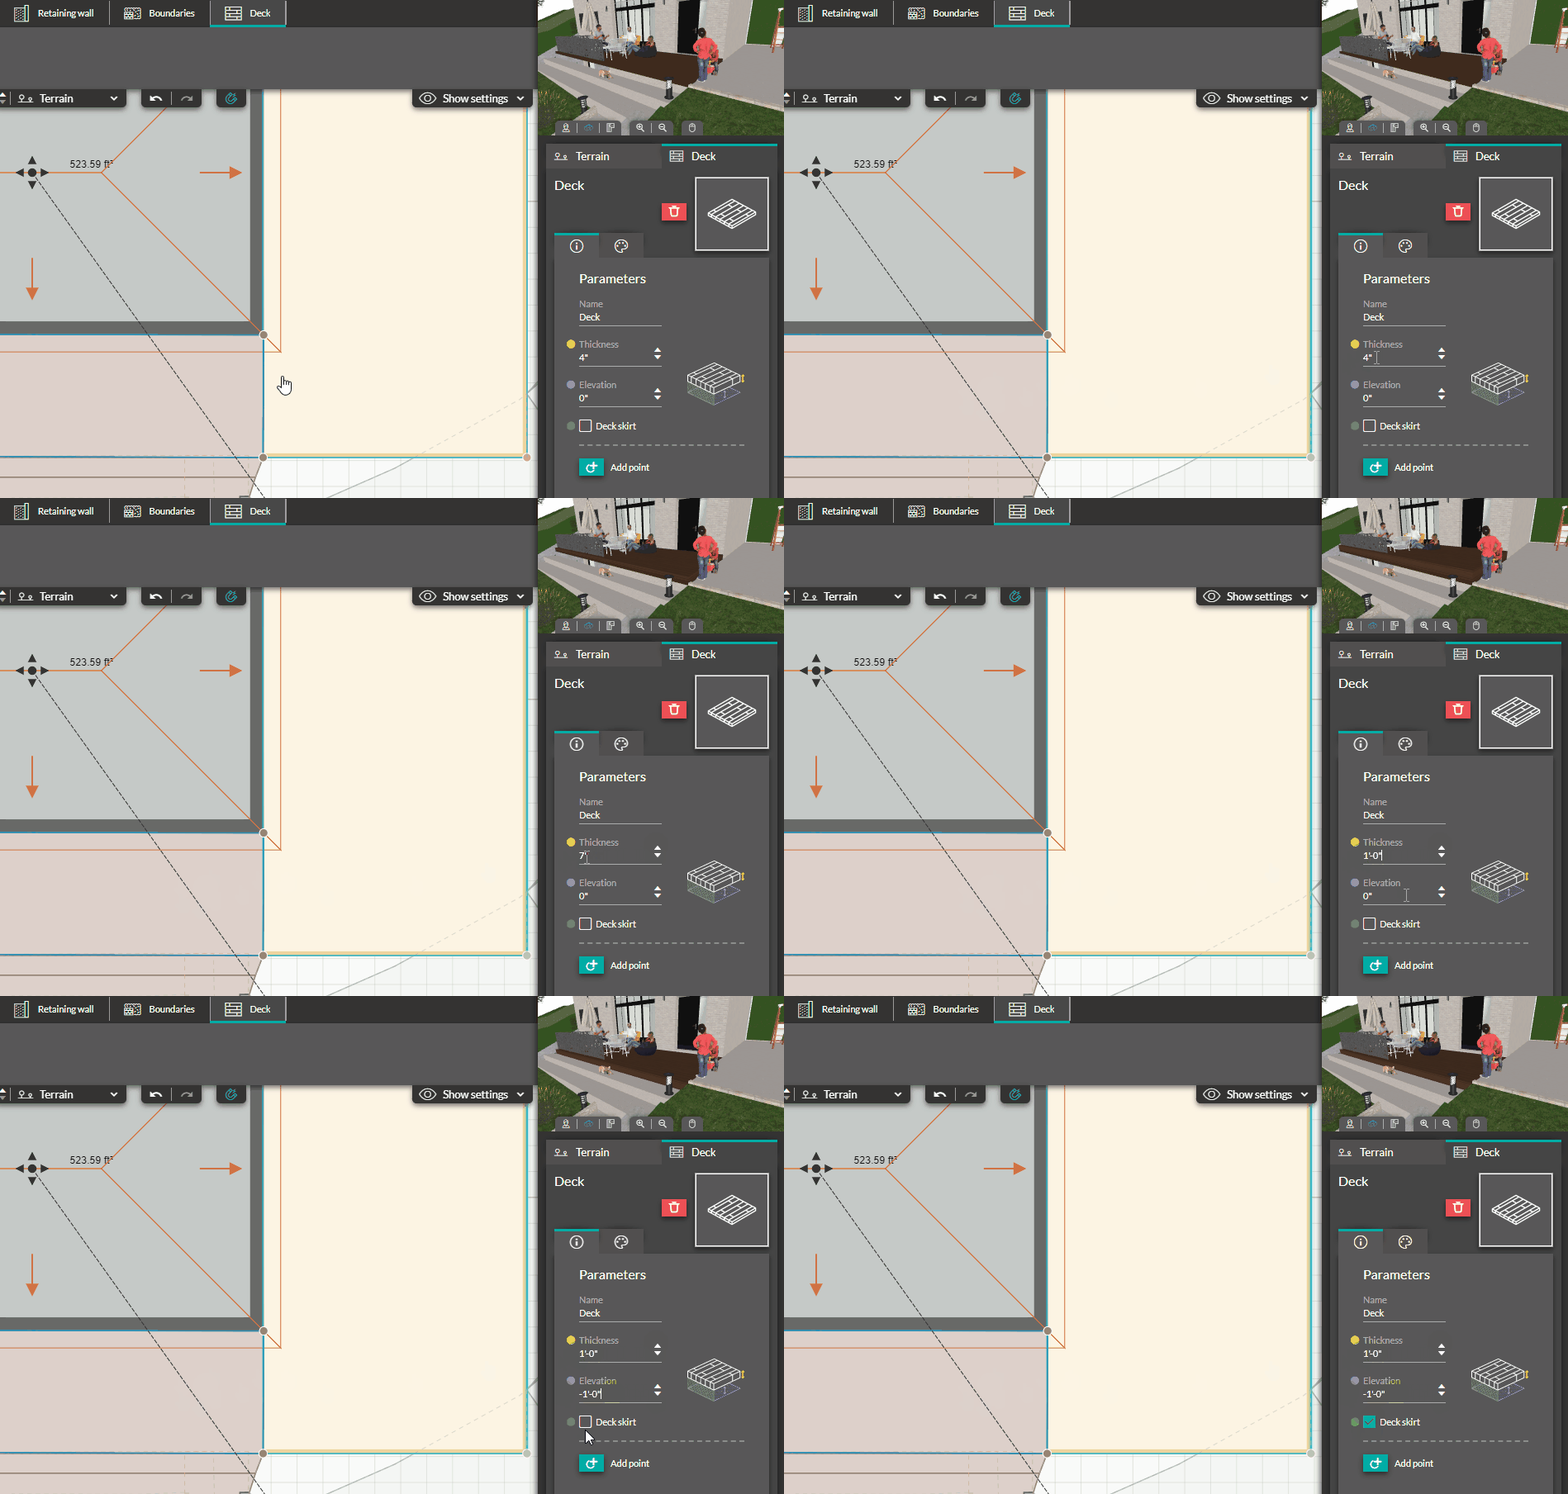
4. In the right-hand column, customize the parameters of your terrace by adjusting its thickness and elevation (using the "up/down" arrows or by directly entering a value validated by the "enter" key).
5. Still in the right-hand column, a "skirt" can be added or now to the deck (by checking or unchecking the dedicated box).

💡 The materials of the terrace and the skirt can be different. They can be changed here but we recommend to do it in the "Materials" step (more choices)