1. Once the image is imported, you can draw your plot.
2. To do this go to the "Layout" step, select the "Land" sub-menu, then click on the "Lot" tool.
3. Make the first click to start drawing your lot. Double click on the last point to validate or click on the small white validation button.
❗The "1-click = 1-turn" method is used to draw the lot.
4. You can set up setback lines and add elevation points/lines to your lot to make it fully conform to your plan.
5. You can also add hedges and low walls to delimit your lot from the "Exterior" step.
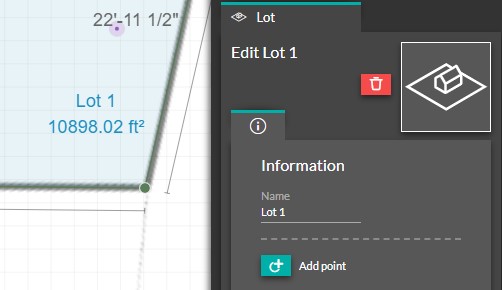
💡 Don't hesitate to customize your lot even more. Click on the lot, and in the right column under information rename the lot.
❗You can draw your plot from a DWG (or DXF) file.
However, this involves a completely different process: