![Logo-cedreo-bkg-white-1.png]](https://help.cedreo.com/hs-fs/hubfs/Logo-cedreo-bkg-white-1.png?height=40&name=Logo-cedreo-bkg-white-1.png)
ℹ️ This tutorial applies only to renders generated in "Manual Mode".
1. Go to the "Studio" step.
2. Click on the third thumbnail: "Manual mode / Create a render manually."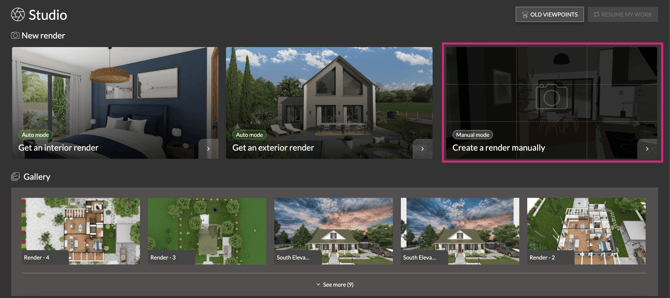
💡To save time, start in "Auto Mode" to set the viewpoint and environment, then "Switch to Manual Mode" to fine-tune the camera while retaining the sun settings from auto mode.
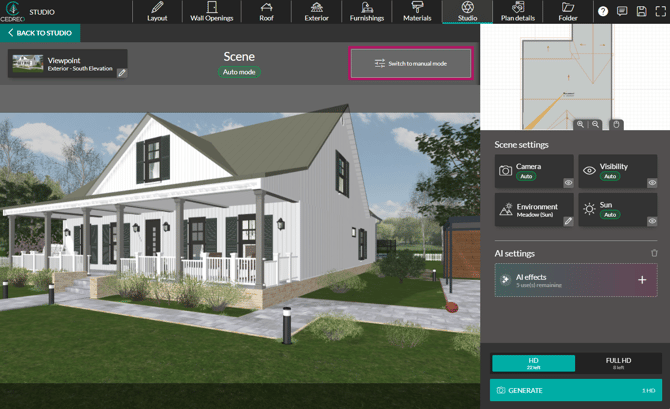
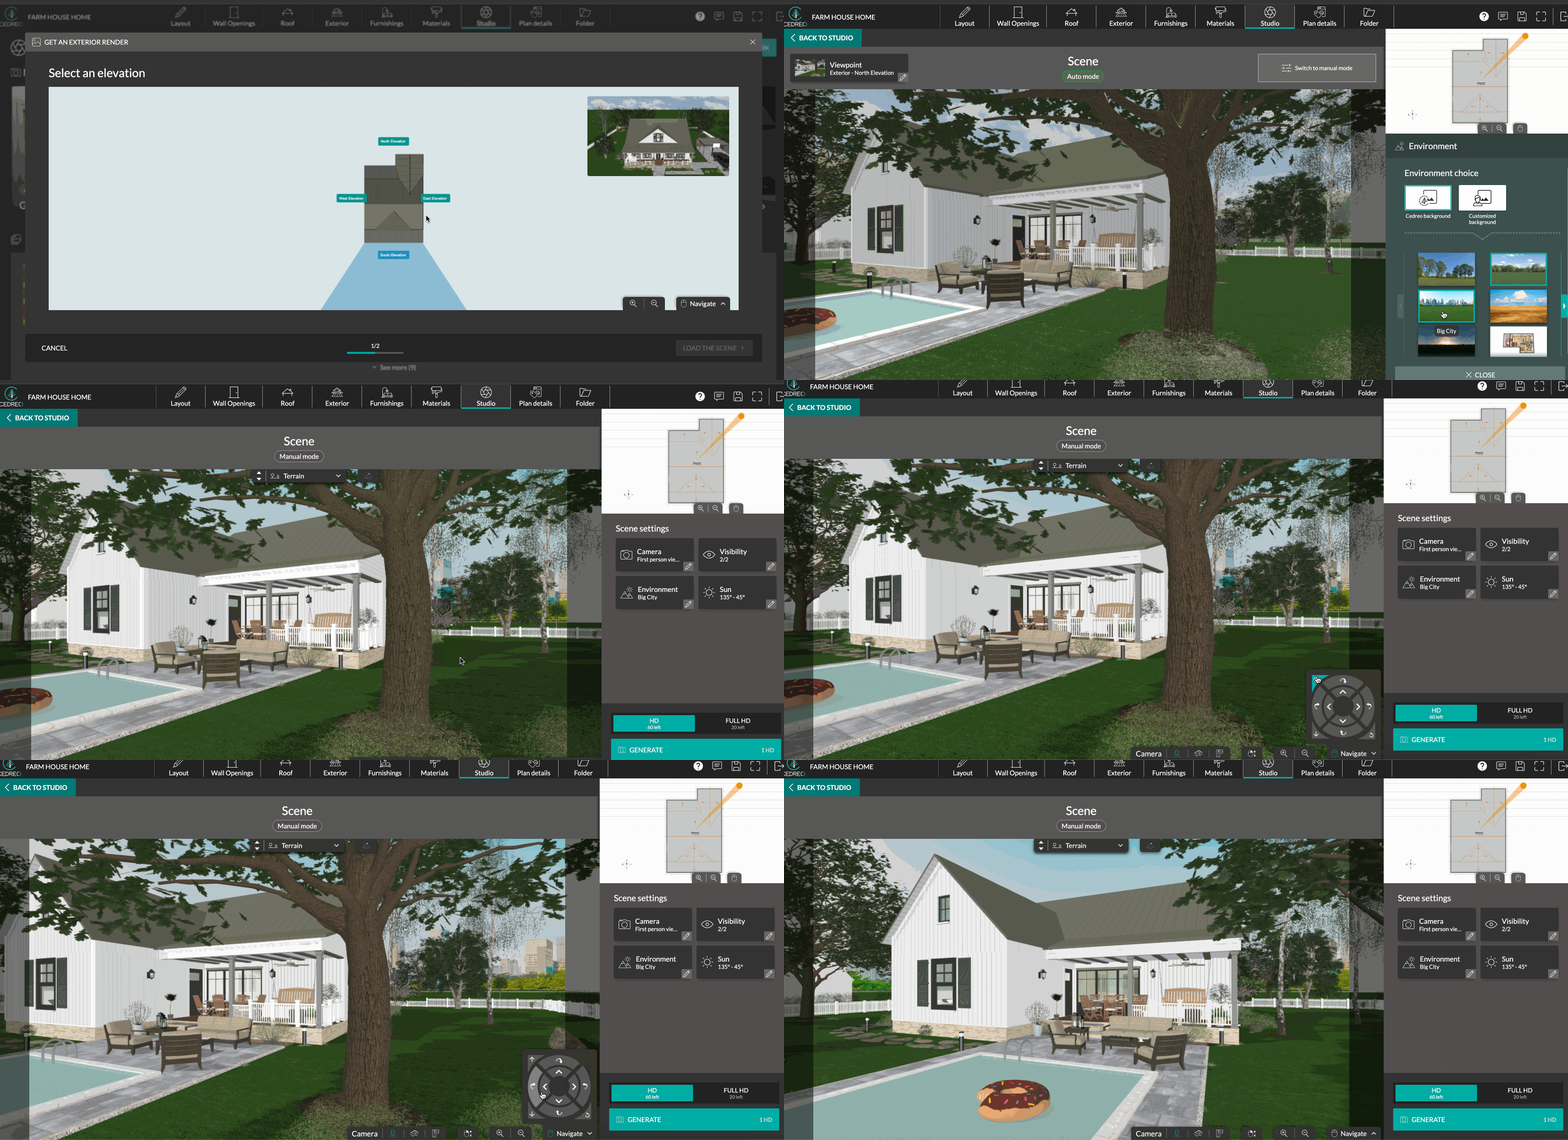
The "Scene" opens by default with the camera type and position, as well as the level, used during the last step.
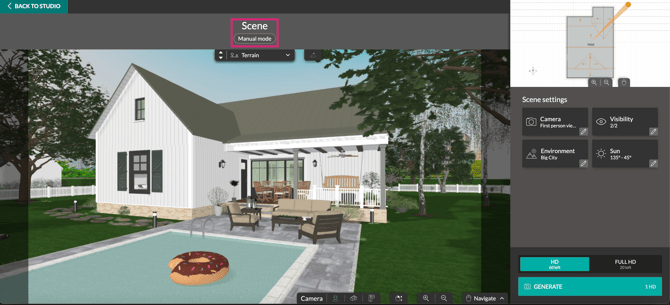
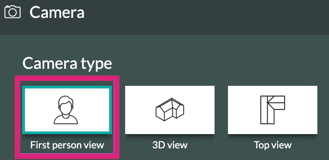
3. From the "Scene Settings" panel, in the "Camera" section, click on the "First person view" type.

4. Position your camera as desired using mouse navigation, the "Navigation" button, the "Zoom In/Out" buttons, and the 2D camera view visible on the 2D plan (top right).
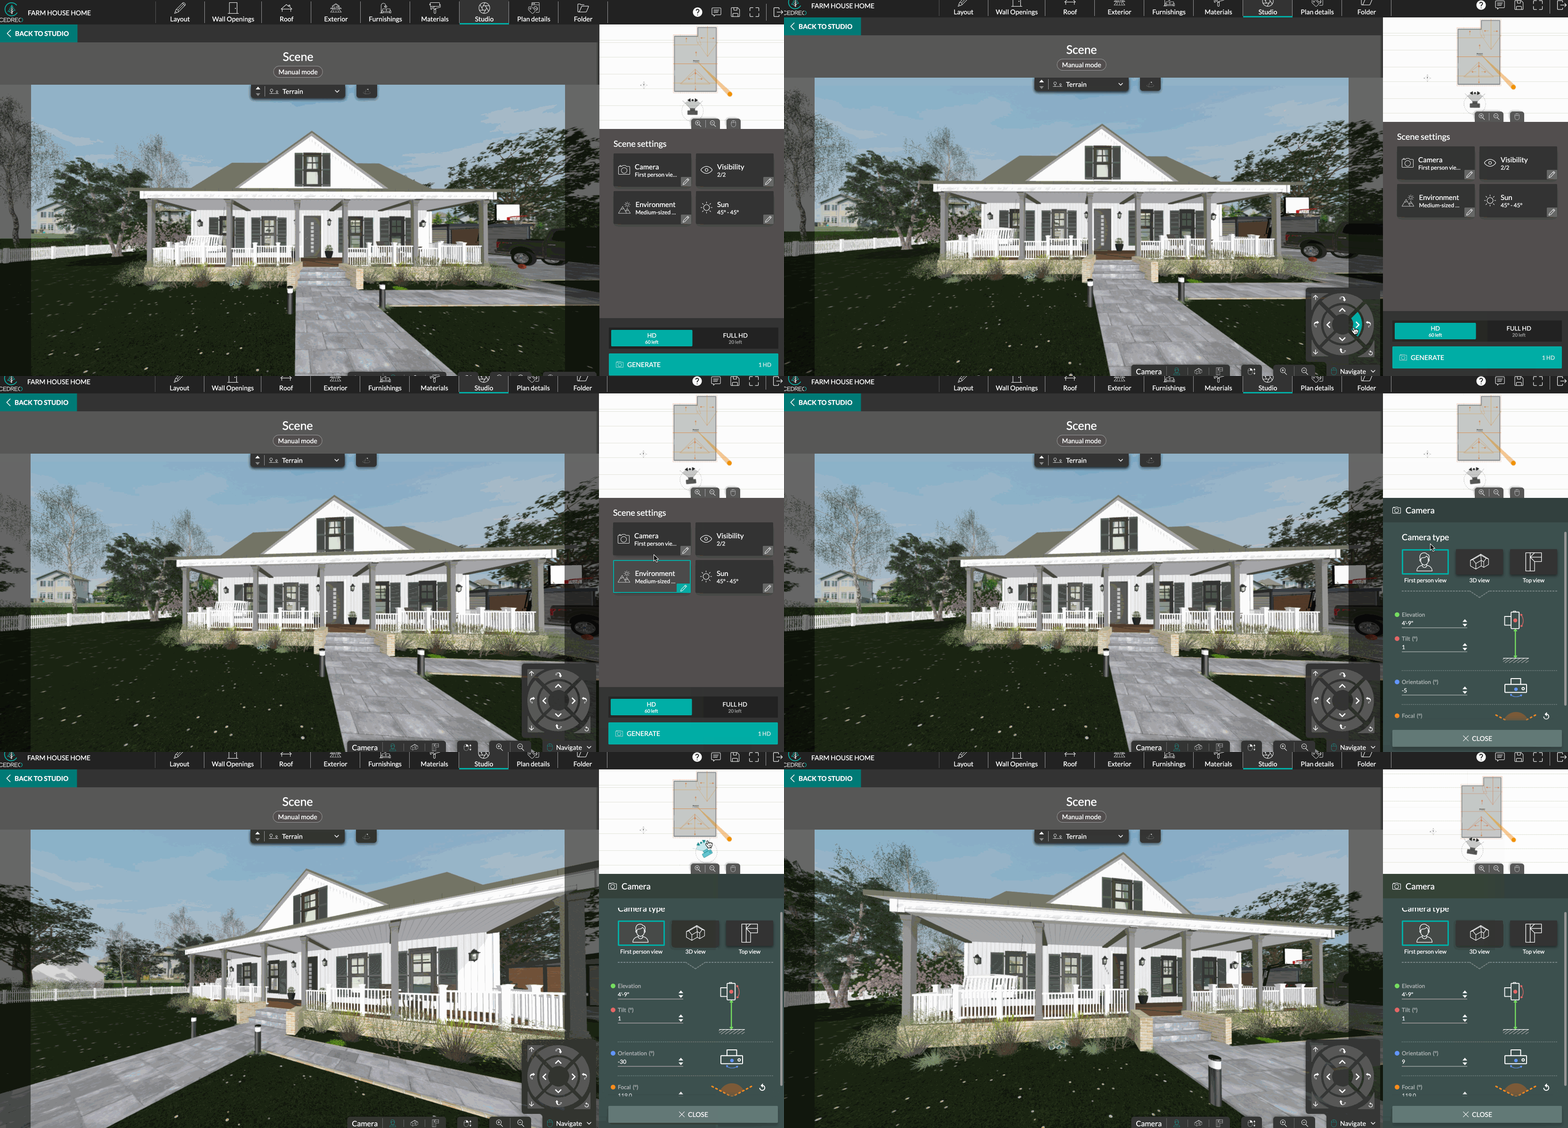
ℹ️ If you previously used auto mode to position the camera by selecting a viewpoint, it will already be optimally positioned.
5. Use the settings in the "First person view" camera's right-hand panel to fine-tune your viewpoint.
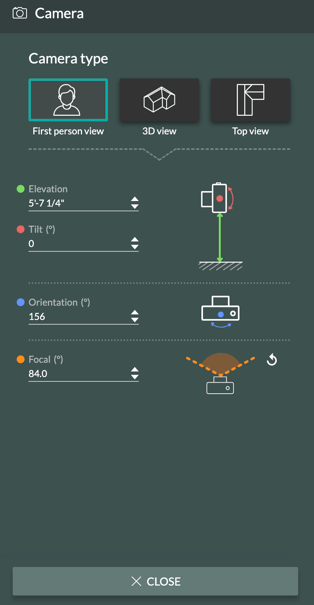
💡The focal is useful in small spaces like bathrooms, where there is limited room to step back. If it is too high, it can distort the image (wide-angle effect). Therefore, one must strike the right balance between field of view and realism.
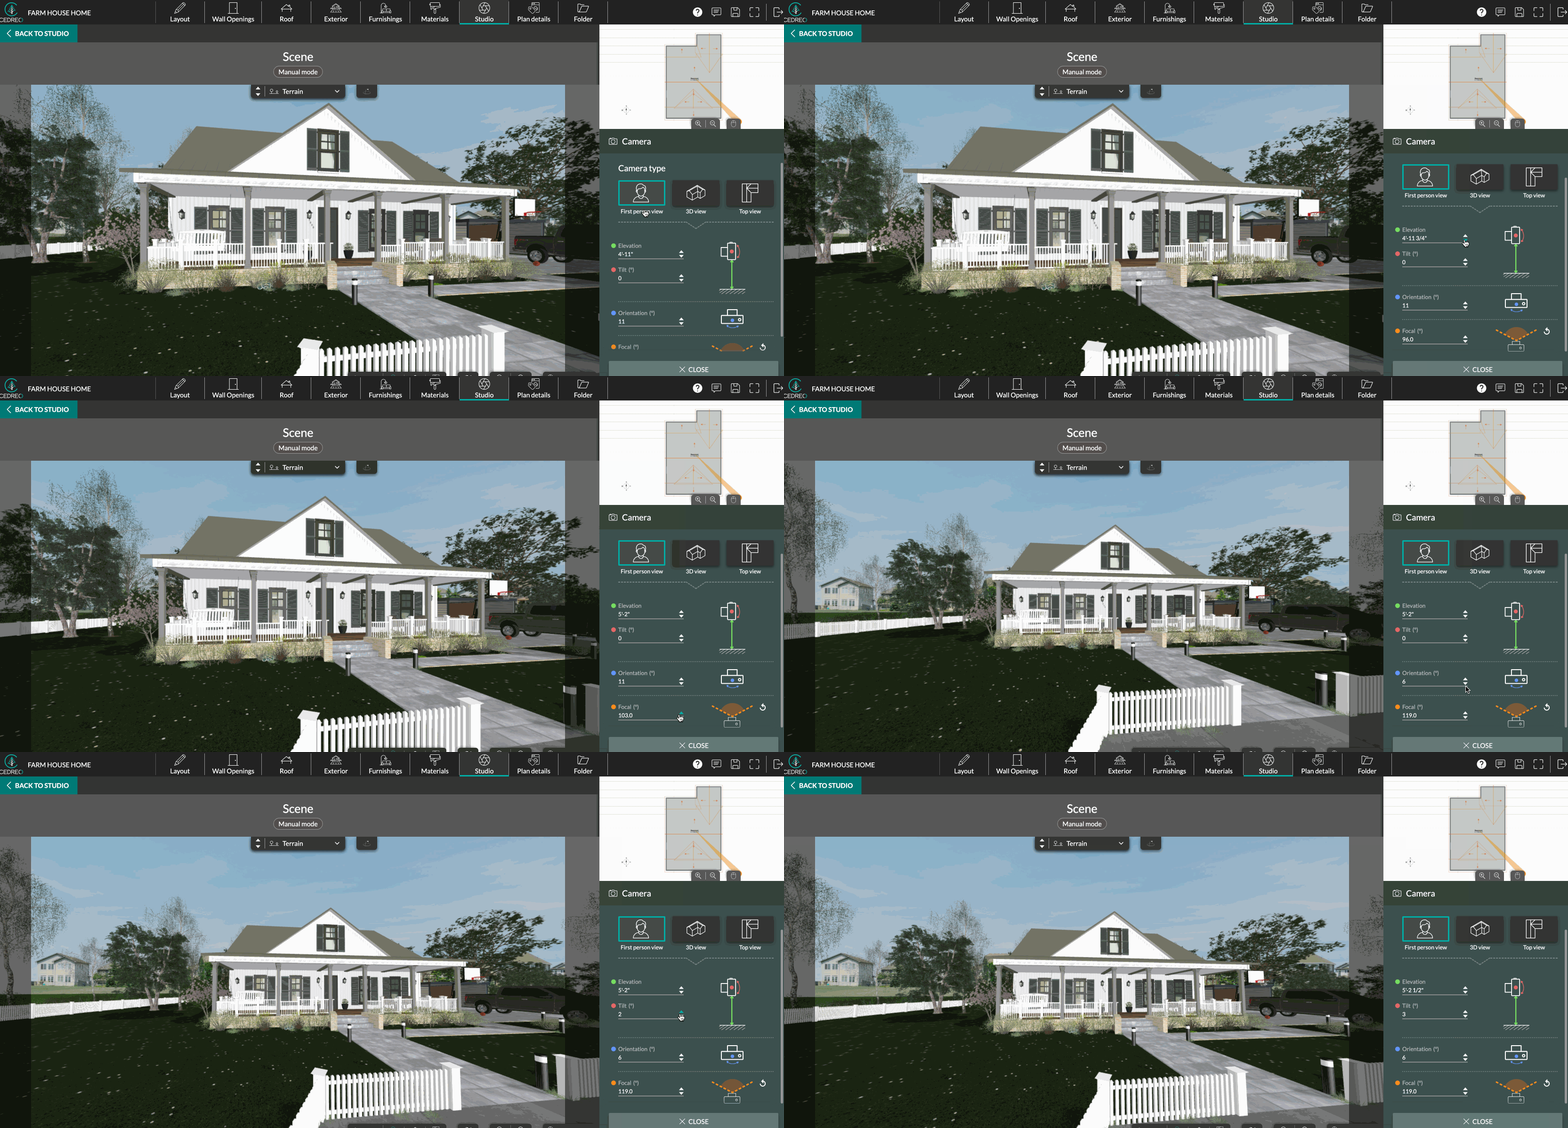
6. Choose a background for your render in the right-hand panel using the "Environment" setting.
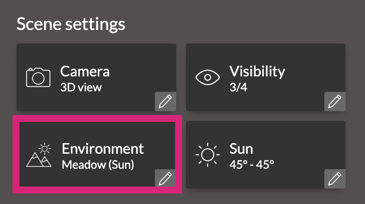
ℹ️ For more details on environments, consult the tutorial: How to Choose A Rendering Environment
💡To achieve a realistic exterior rendering, the environment alone is not enough. We therefore recommend working on the various planes of your image:
- The foreground: add vegetation (bushes, shrubs, etc.) to bring life and depth to your visuals.
- The middle ground: stage the construction project; even a few furnishings, curtains, lights inside will add real value to the rendering.
- The background: incorporate trees and fictional buildings to enrich the background and enhance immersion.
7. If you haven’t activated auto mode before switching to manual mode, adjust the "Sun" setting to create beautiful outdoor shadows or control light intensity indoors.
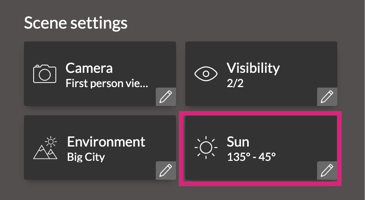
- For exterior settings, position the sun to the side to preserve depth and natural shadows. Aim for a sun angle (latitude) between 25° and 35°: below 20°, shadows become overly elongated, while above 40°, the project appears too exposed.
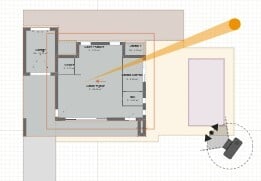
💡Add greenery, a carport, or other elements that create plays of light, shadow, and contrast. Also, consider incorporating features visible through the openings to add depth to the scene.
- For interior settings, prioritize light coming from openings facing the camera. Side or backlighting is possible but may overexpose the foreground; in such cases, position the sun higher (≈40°) and/or place vegetation in front of the opening to soften the light.
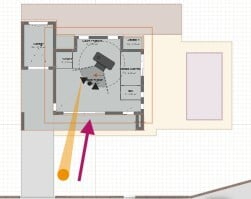
ℹ️ For more details on managing the sun, consult the tutorial: How to set up the sun with the manual mode.
7. Choose the format and click "Generate" to start creating the visual.
Here is an example of an exterior and interior rendering:.jpg?width=323&height=182&name=South%20Elevation%20%20(1).jpg)
.jpg?width=322&height=181&name=Kitchen%20(1).jpg)
💡To enhance your renders, you can also add AI effects. Check out the tutorial: How to Enhance your Renders with AI.