💡 When working on your documents, holding down the mouse right click allows you to move your page on your workspace, and the scroll wheel enables zooming in and out on your page.
![]() You can also use the zoom and navigation buttons.
You can also use the zoom and navigation buttons.
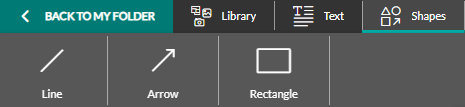
Use the 'Line' and 'Arrow' Tools
1. Select the page on which you want to draw your lines or arrows.
2. Click on the 'Line' or 'Arrow' thumbnail and select its style - straight or curved - (these tools are the same; only their default configurations differ). A crosshair appears replacing your mouse pointer.

3. The first left-click on the page starts drawing the arrow, a second click ends it.
4. Modify the length and orientation of your line or arrow by holding down the left click on the blue points at each end.
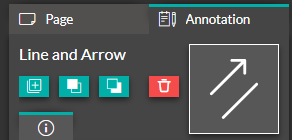
5. Customize the thickness, color, and type of your line and arrow from the right column.

|
Additional options for line/arrow - Copy (only on the same page) - Move to the front/back - Delete |
 |
Use the 'Rectangle' Tool
1. Select the page of your document where you want to integrate your rectangle.
2. Click on the 'Rectangle' thumbnail. A rectangle appears and follows your mouse pointer.
3. Place your mouse pointer where you want on the page and click on the left mouse button to confirm the integration of the shape.
4. Resize it by clicking on the blue squares in the corners of your file (or by changing its dimensions directly from the right column).
5. Reposition it by holding down the left click on the file.
![]() 💡 Guide lines will help you align your text zone at the center of the page (horizontally, vertically) as well as on the edges.
💡 Guide lines will help you align your text zone at the center of the page (horizontally, vertically) as well as on the edges.
6. Rotate it if necessary, with the default blue point at the top center of your file (or by changing its angle values from the right column).
|
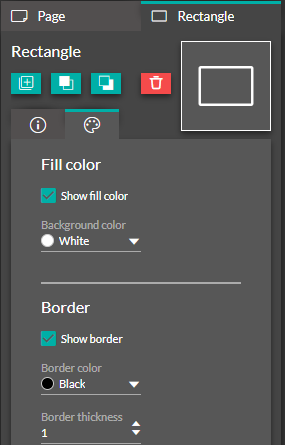
Additional options for the rectangle - Copy the text zone (only on the same page) - Move the text zone to the front/back. - Add a background ("white, displayed," by default) - Show an outline (and customize the color and thickness of the line) - Delete the rectangle |
 |
⚠️ ![]() The 'Undo/Redo' options apply only to operations performed on the current page. Changing pages cancels the modification history.
The 'Undo/Redo' options apply only to operations performed on the current page. Changing pages cancels the modification history.
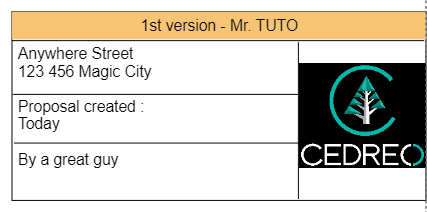
Example of rectangle and line usage (+ image) > Creating a title block