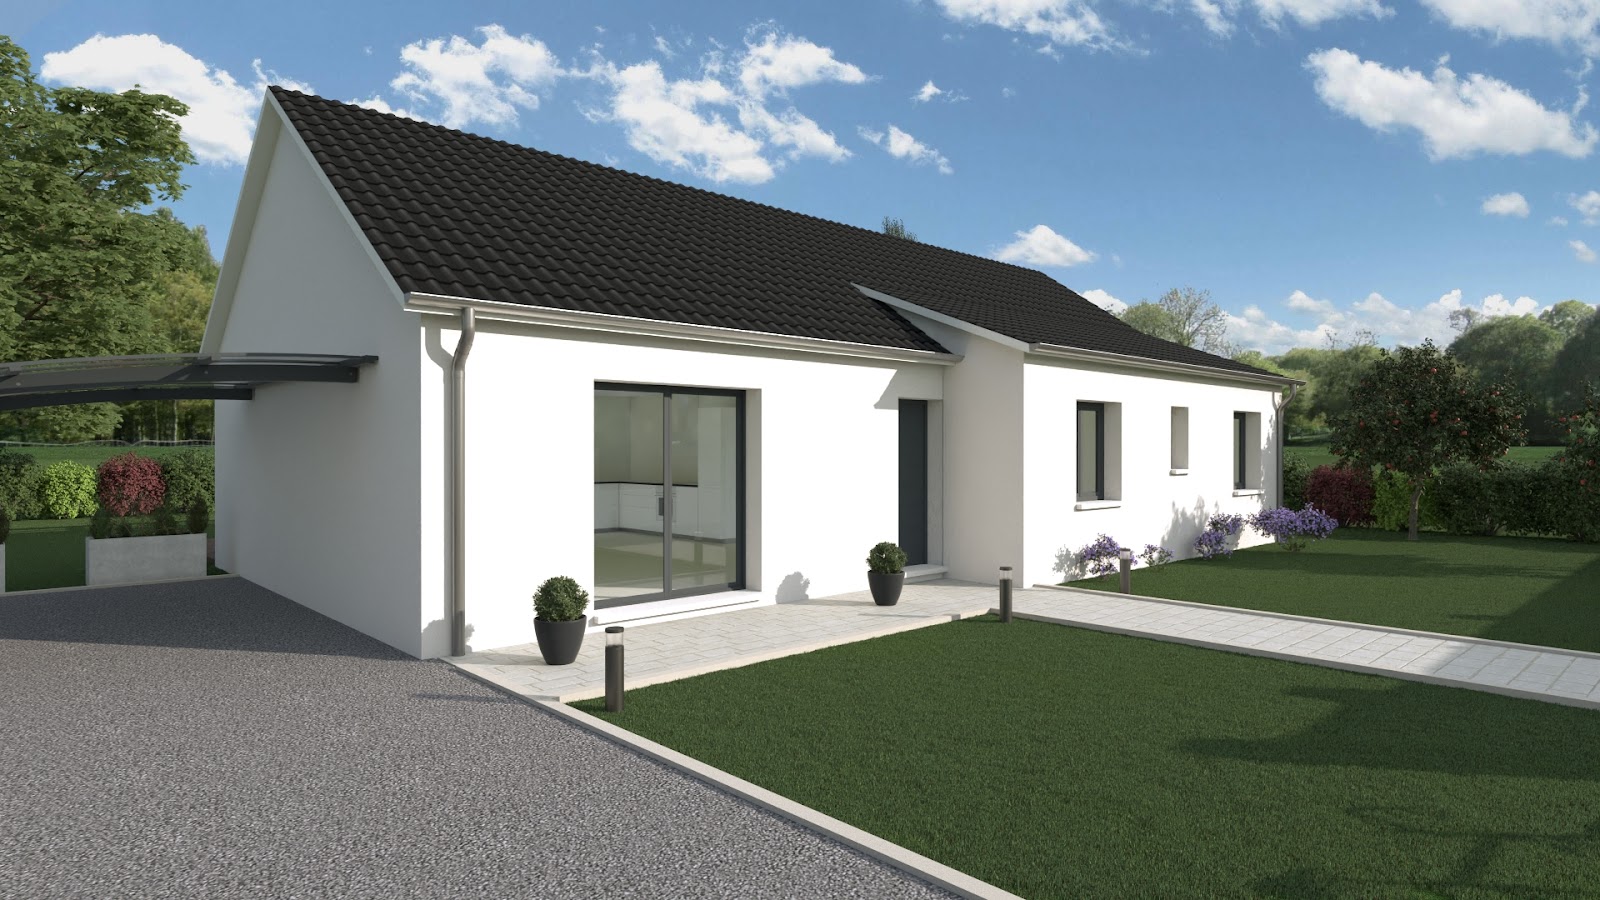
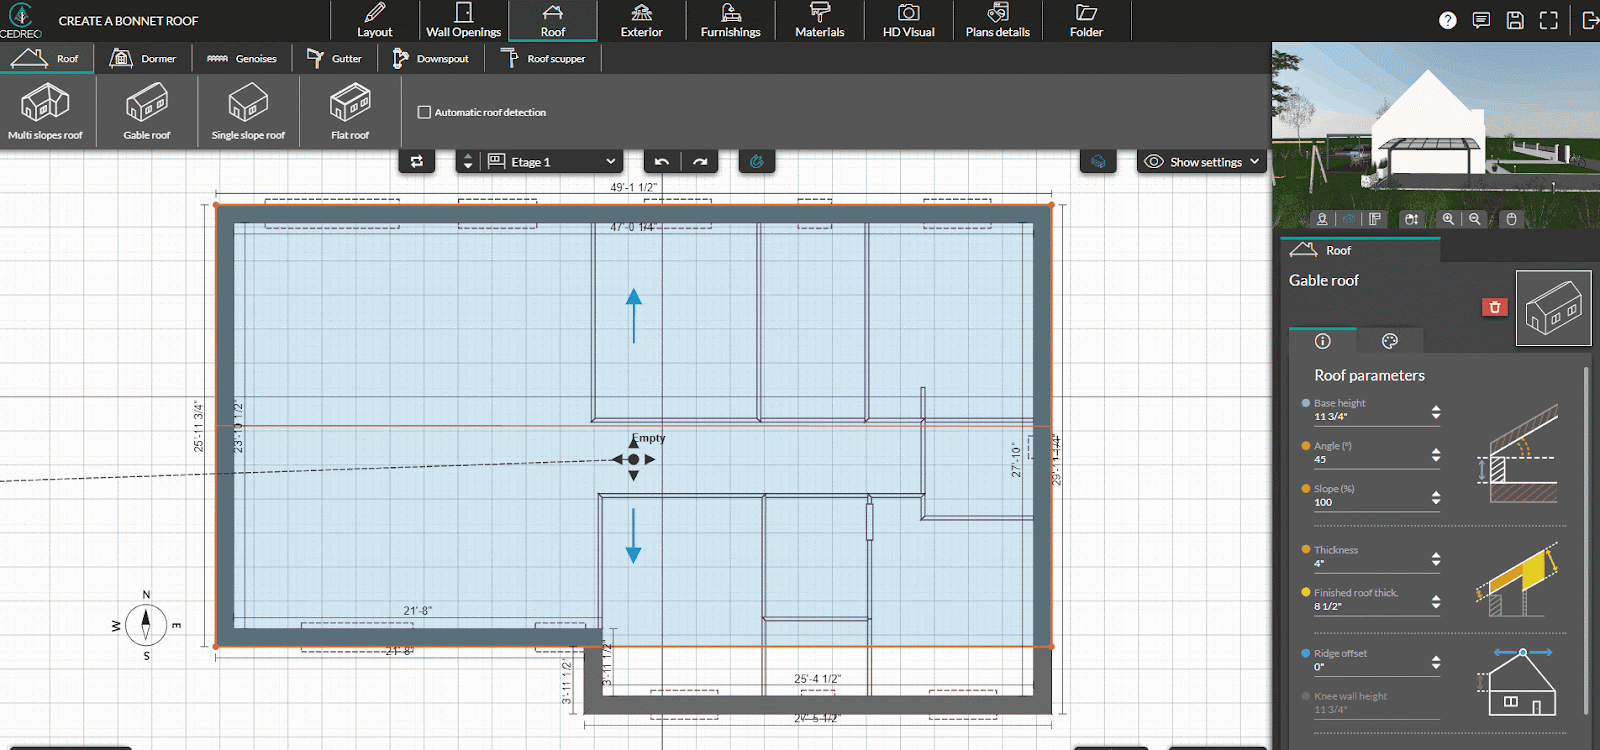
Offset the main roof
- To create a bonnet roof, first offset the main roof to the desired distance from the starting point of the bonnet roof.
- If the bonnet roof is only on part of the building, you may need to recenter the ridge.
- To do this, click on the edge of the roof and use the 'ridge offset' option to recenter the ridge.
Draw a complementary roof
- Next, draw a single-pitch roof to create the break in slope.
- Click on the edge of the roof that should be the lowest and check 'bottom slope' to set the complementary roof in the correct direction.
- In the parameters on the right, adjust the roof height to match the height of the main roof if needed.
- Using the 3D visualization window, adjust the slope of your roof until the roofs complement each other.
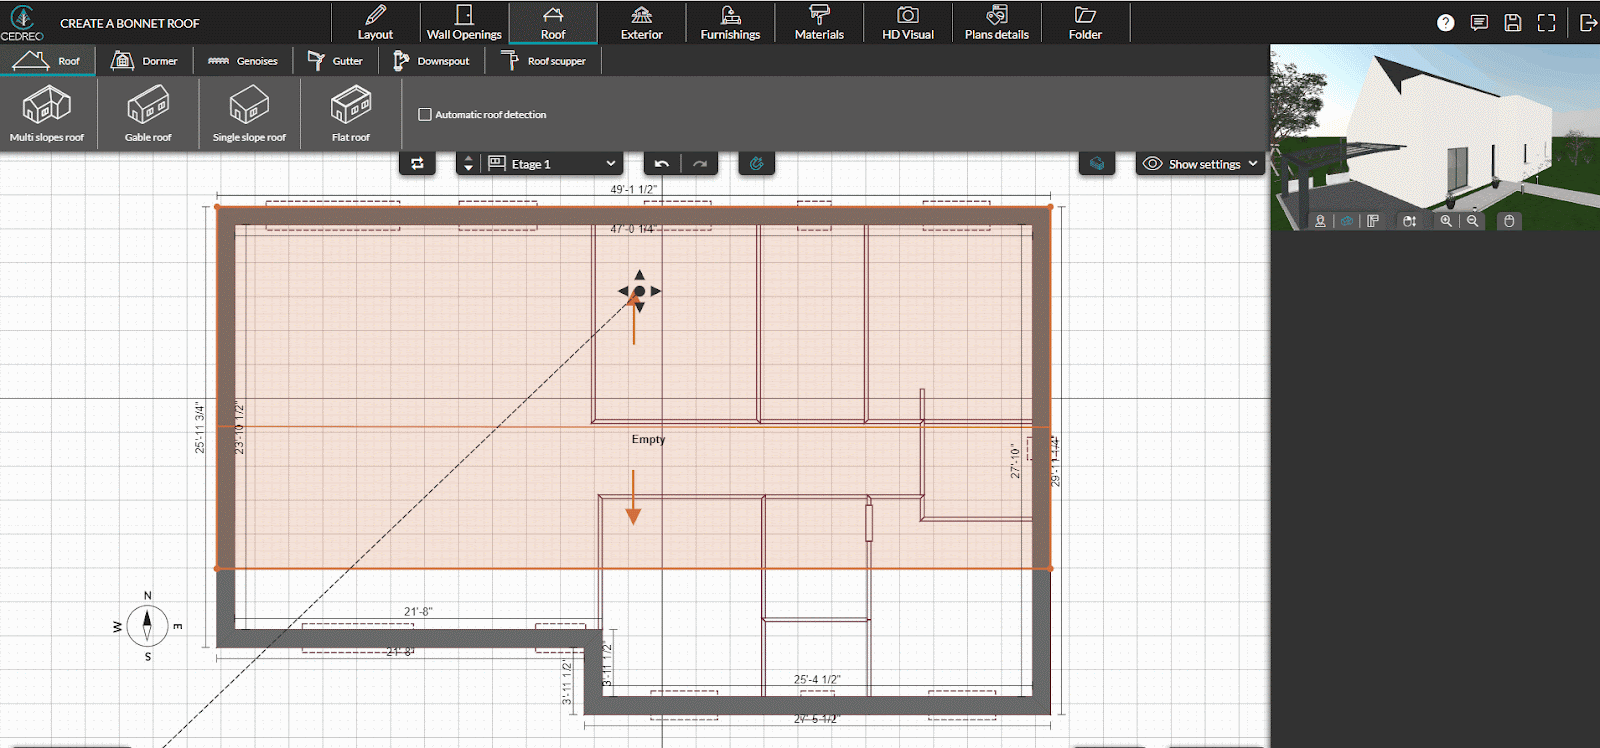
Modify the main roof
In this case, we are creating a partial bonnet roof, so we will now modify our main roof.
- First, offset the second roof so that it only covers the extension.
- Then, adapt the shape of the main roof by adding two points using the dedicated button in the right column.

❗ Once the wall length is restored, remember to recenter the ridge by setting it to 0.

Modify the complementary roof

To correct this defect, go to the 'Layout' step and draw an additional wall under the extension roof.
