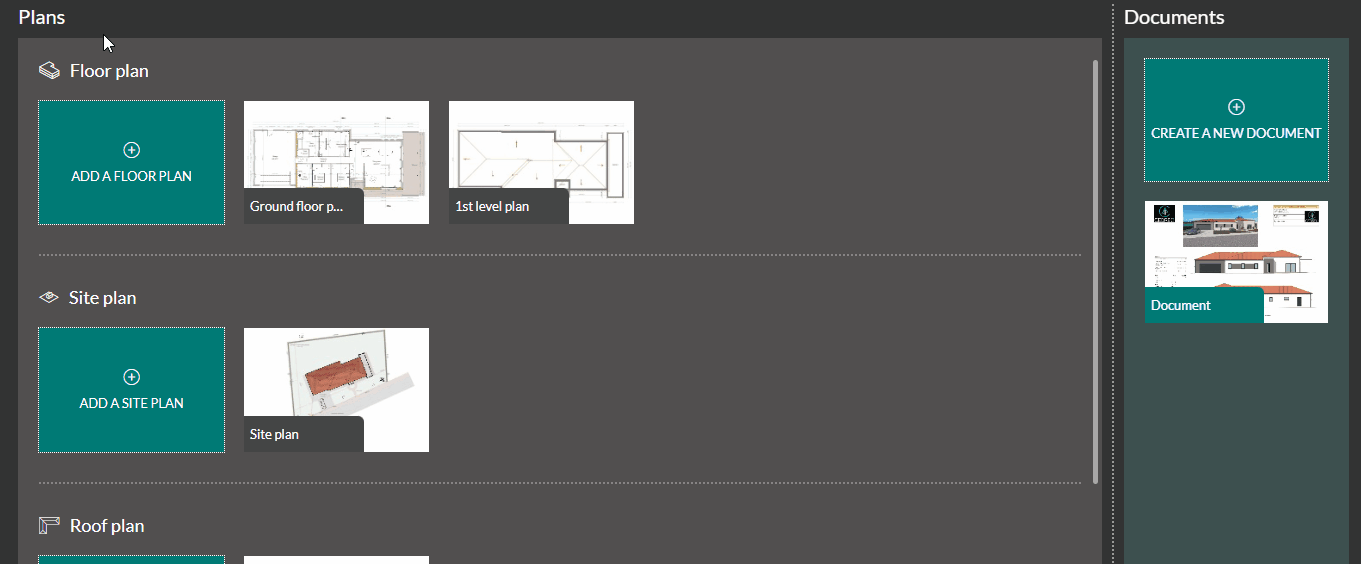
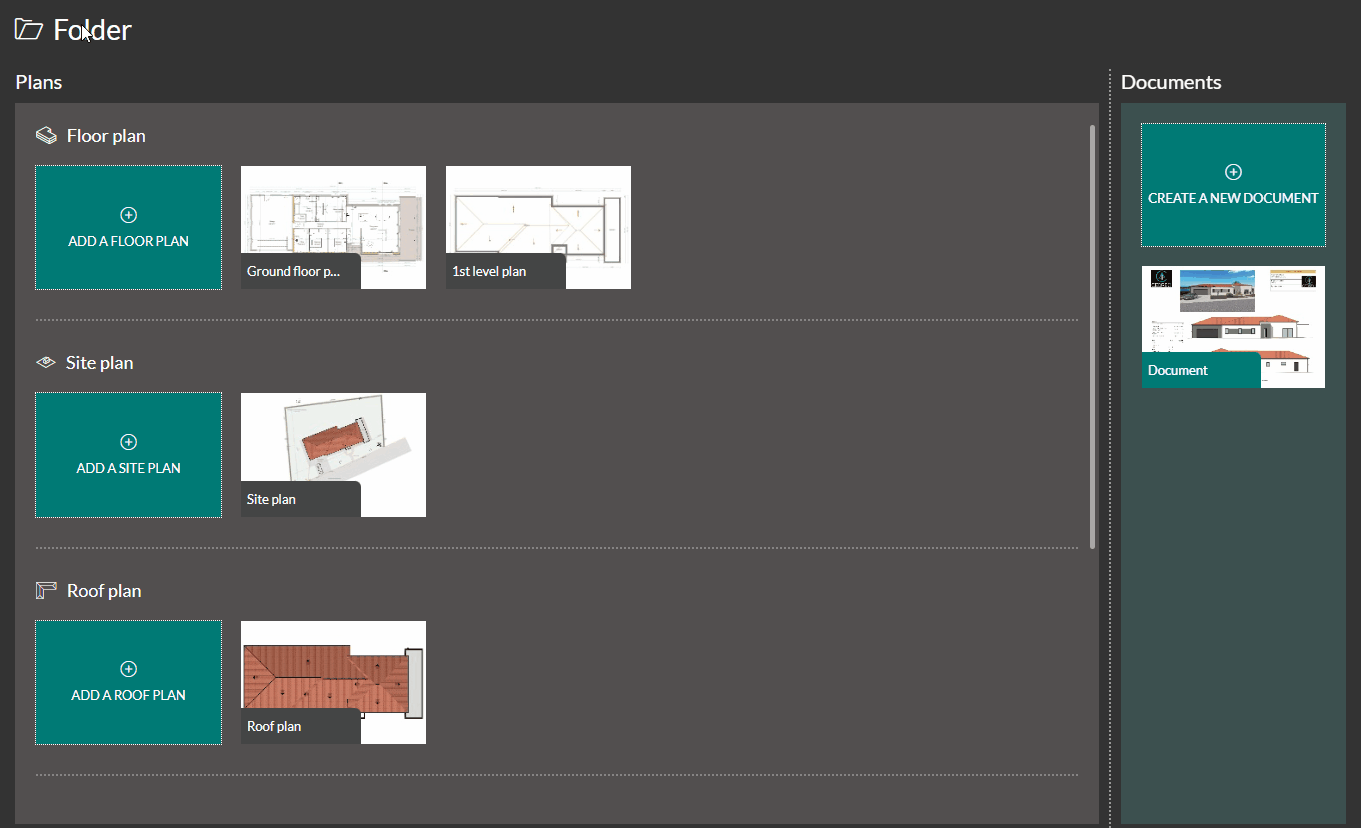
Add an elevation view
1 . Go to the 'Folder' step
2 . Click on the 'Add an elevation view' button
3 . Select the camera corresponding to the facade for which you want to generate a map.
4 . Name your plan
5 . Configure shot framing
6 . Return to the plans page
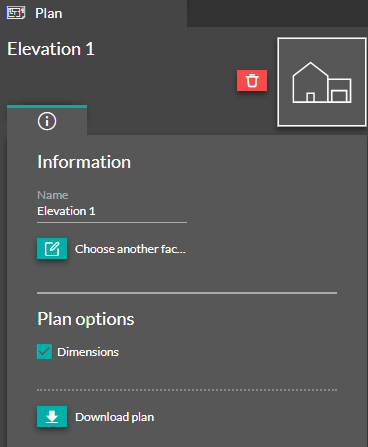
Edit an elevation view
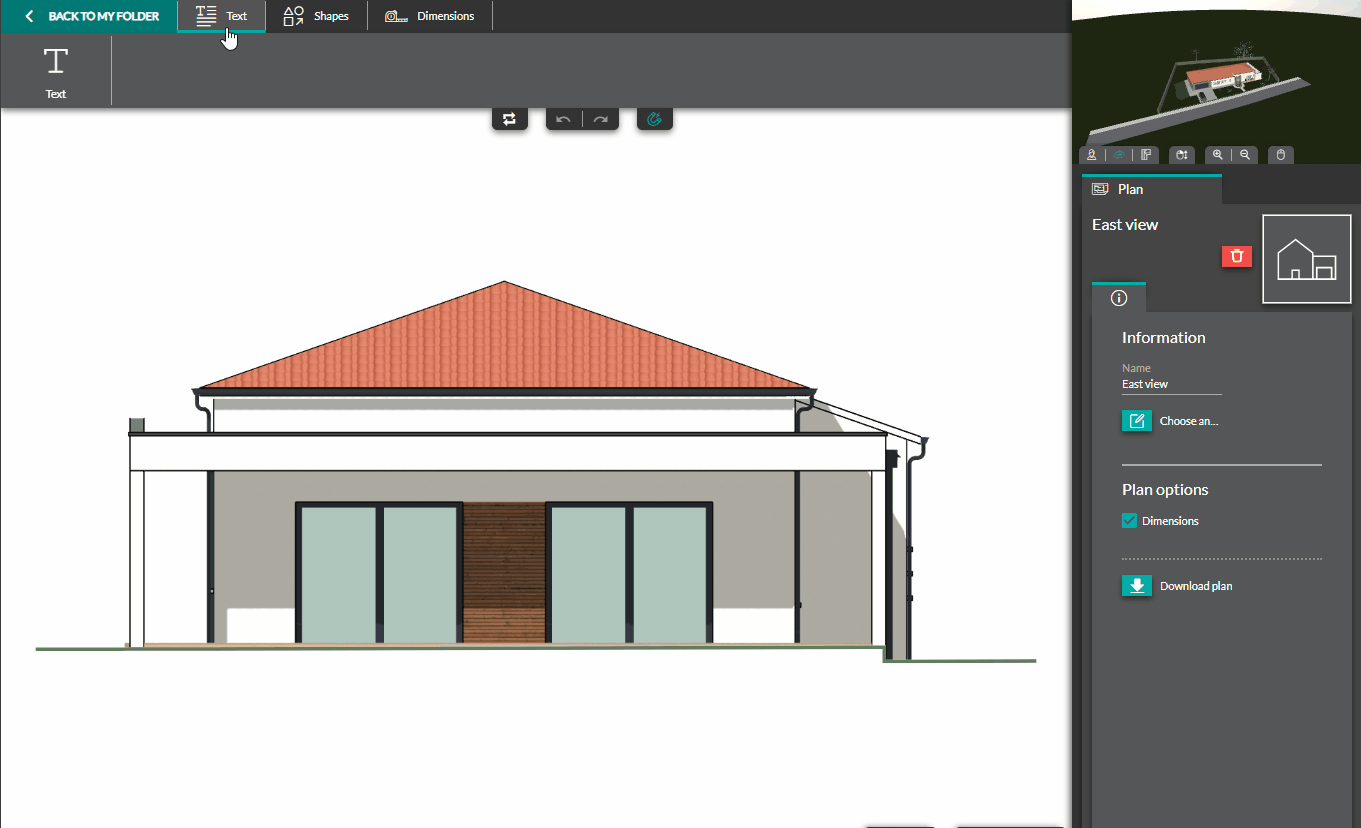
If you want to modify the information shown on a facade plan, you can do so at any time.
To do so, click on the thumbnail representing the plan to be modified and update from the following 3 entry points:
- Basic options
These options are accessible from the "Plan" tab in the right-hand column.
 |
|
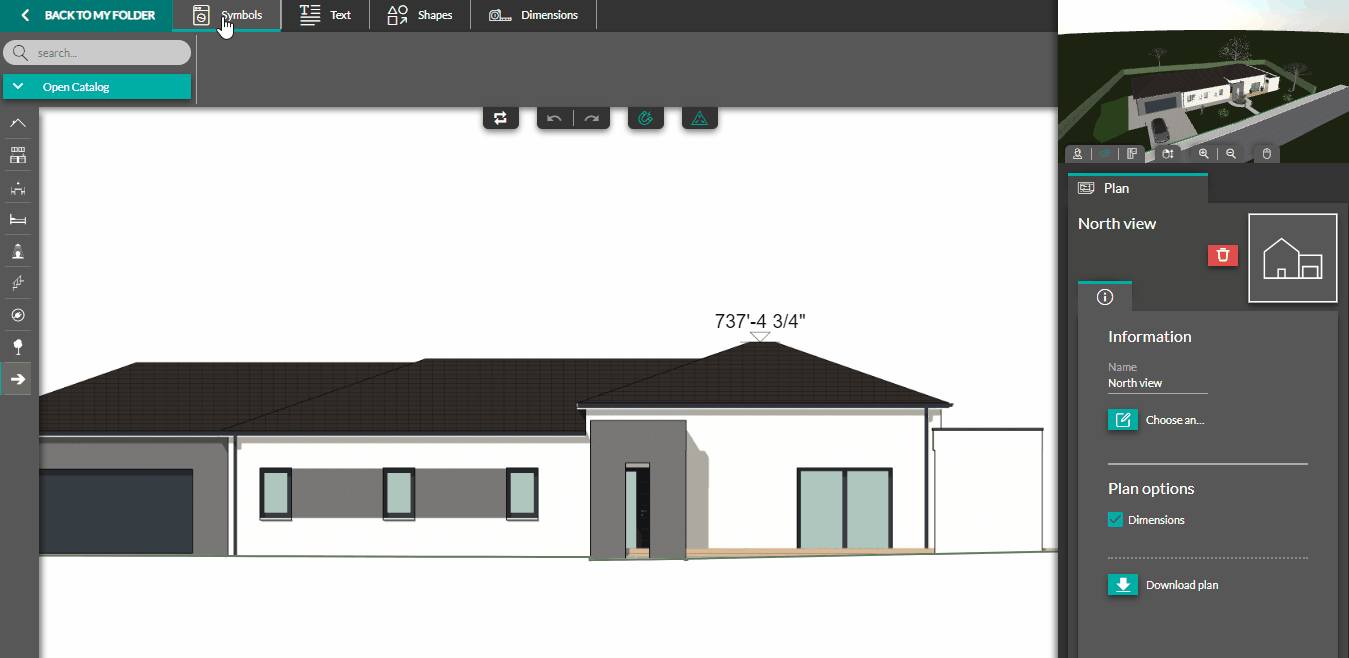
- Add Symbols
Similarly to the 'Plan details' step, you have the option to add symbols to your floor plans.
/11-symbols%20in%20Folder.png?width=597&height=105&name=11-symbols%20in%20Folder.png)
1. Search for the desired symbol, either through the search bar or in the various catalogs provided.
2. Select the thumbnail representing the desired symbol.
3. With a left click of the mouse, click on the location on the floor plan where you want to place your symbol (you can move it by holding down the left click on the symbol).
4. In the right column, you can (in the first tab) resize/rotate the symbol or (in the second tab) change its color.
![]() 💡 From the right column, you can apply a 'mirror effect' to your symbols to modify their axes of symmetry
💡 From the right column, you can apply a 'mirror effect' to your symbols to modify their axes of symmetry
(This will be useful for stairs, for example).
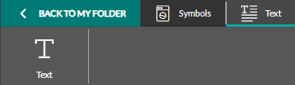
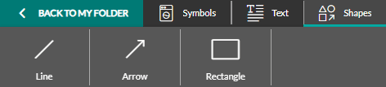
- Add and edit Text and Shapes
You can add and configure text, lines, arrows and rectangle directly on the plan using the 'Text' and 'Shapes' tools:
 |
 |
❗Curved lines and arrows can now also be drawn:

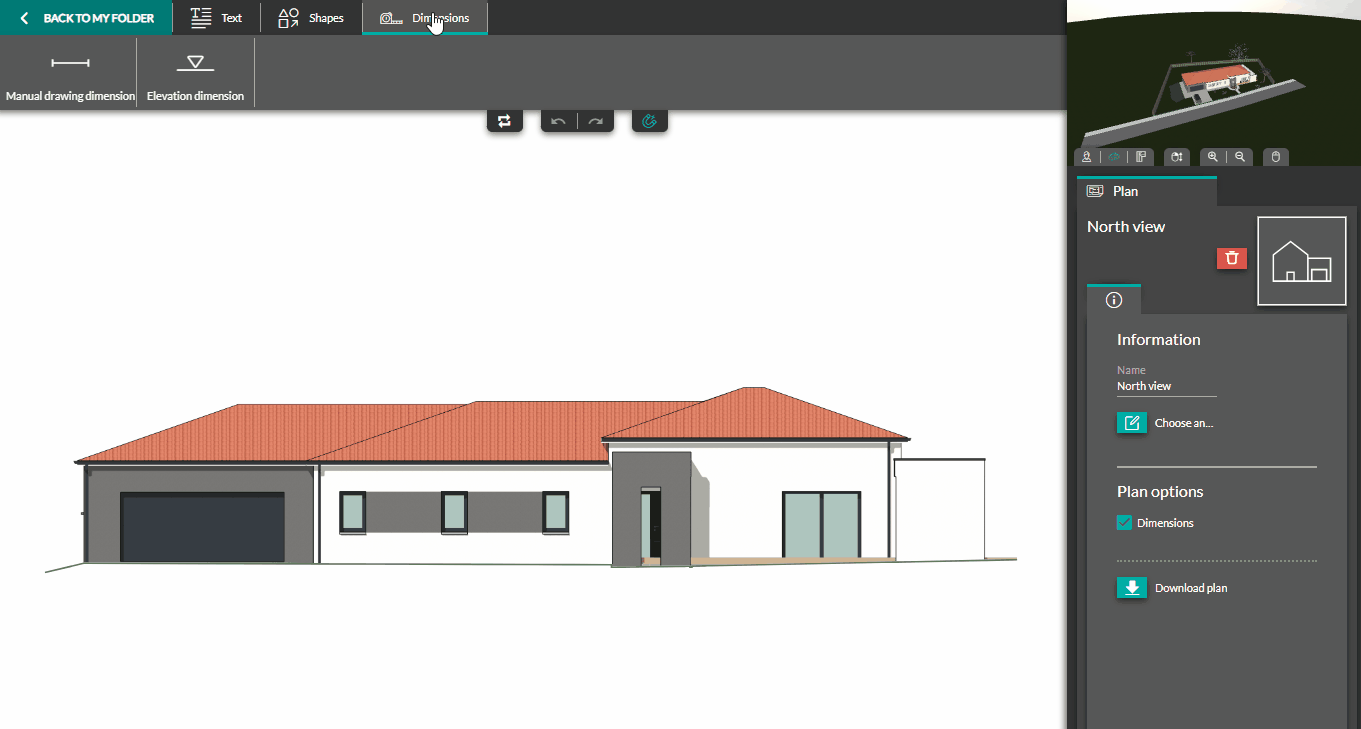
- Add and modify dimensions
You can add manual drawing dimensions and elevation dimensions to your plans. To do this, use the 'Dimensions' tool:
Dimensions are magnetized for easy insertion. A dotted green line indicates the reference elevation:
Delete an elevation view
1 . From the 'Folder' step, move the mouse pointer over the plan to be deleted.
2 . A red trash can icon appears.
3 . Click on it and confirm deletion