Camera Height
1. In the 'HD Visual' step, the camera height is by far the most important element.
Position the camera at a height that is imaginable to the human eye, ranging from very close to the ground to approximately 6~7'.
2. This perspective can be captured in 3D or from the 'human view' represented by an icon of a person, which defaults to a height of 5′8″
Horizontal Alignment
To add depth to the visual, it's essential to showcase as many project angles as possible.
❗Maintaining horizontal alignment is crucial to avoid distorting the visual.
To check this alignment, align the workspace edge with an angle of a wall.
💡 Don't hesitate to get close, even very close to the project for this
.png?width=688&height=388&name=DOC%20CEDREO%20ESSENTIEL%20(4).png)
Arranging Different Layers of the Image
There are three layers in an image, and you can arrange them as follows:
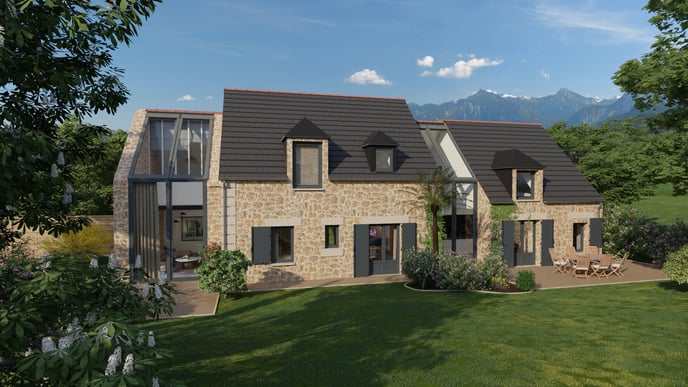 The first layer with vegetation (bushes, shrubs): they bring your images to life.
- The second layer with the construction project: even a basic interior layout will significantly enhance your renderings.
- The third layer with vegetation (trees) and fictitious buildings.
💡 For a night visual, turning on interior and exterior lights will make a significant difference. You can also add lighting panels.
Rendering Environments
1. In the "HD Visual" step, in the right column, select the environment of your choice (pre-defined by Cedreo or custom).
2. If you have chosen a custom background or one with a manual sun management, position the sun to illuminate the façade you want to capture.
3. You can choose the format of your rendering at the top left of your workspace.
4. Finally, click on 'Request a Rendering'.