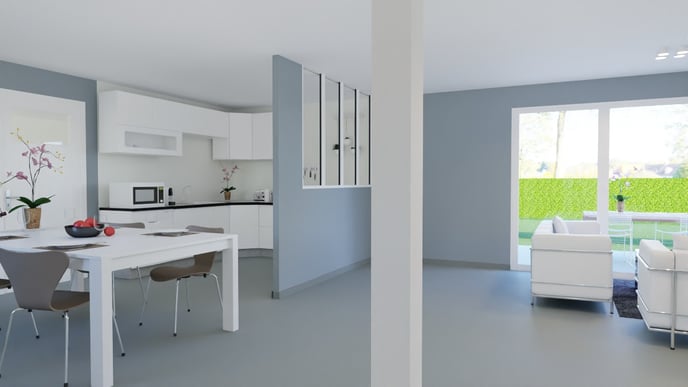
Install and customize your posts
INITIAL - From the 'Layout' step, you will be able to represent the posts of your project both indoors and outdoors.
Create a Post
1 - Go to the 'Walls' menu in the 'Layout' step
2 - Select the 'Post' tool
3 - Position it on the project (dimensions will appear to indicate distances from different walls and partitions) and confirm with a click
❗A post can be positioned both inside and outside the building, at all levels of the project except for the 'Terrain' level.
/2-30%20-%20Create%20post.gif?width=688&height=414&name=2-30%20-%20Create%20post.gif)
4 - If needed, duplicate the post (a dimension will appear to indicate the space between existing posts)
![]() 💡If you have multiple posts to create, feel free to use the 'Continuous selection' option available in your outlining space.
💡If you have multiple posts to create, feel free to use the 'Continuous selection' option available in your outlining space.
/2-30%20-%20Copy%20post.gif?width=688&height=426&name=2-30%20-%20Copy%20post.gif)
Edit a Post
1 - Select the post you want to edit
2 - Change its length and width values (using the 'up / down' arrows or by entering a value)
3 - Confirm with the 'Enter' key
4 - By default, the elevation and height of the post are set from "slab to slab". If necessary, uncheck the option and then change your elevation and height values (negative elevation is possible).
/2-30%20-%20Modify%20post.gif?width=688&height=465&name=2-30%20-%20Modify%20post.gif)
Delete a Post
1 - Select the post you want to delete
2 - In the control panel, move to the red icon representing a trash can
3 - Confirm your action with the 'Enter' key
/2-30%20-%20Delete%20post.gif?width=688&height=401&name=2-30%20-%20Delete%20post.gif)
