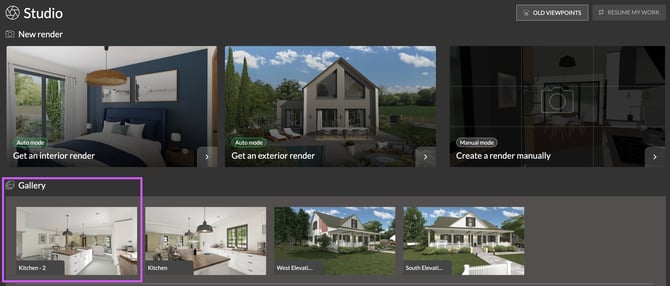
1.Proceed to the "Studio" step.![]()
2. Click on the third thumbnail, "Manual Mode / Create a render manually."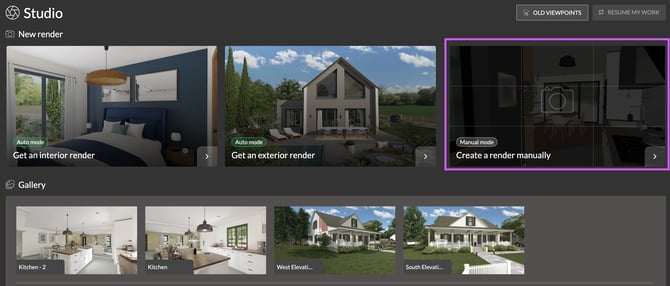
💡To save time, start in "Auto Mode" to define the viewpoint and environment, then "Switch to Manual Mode" to adjust the camera while retaining the sun settings from Auto Mode. 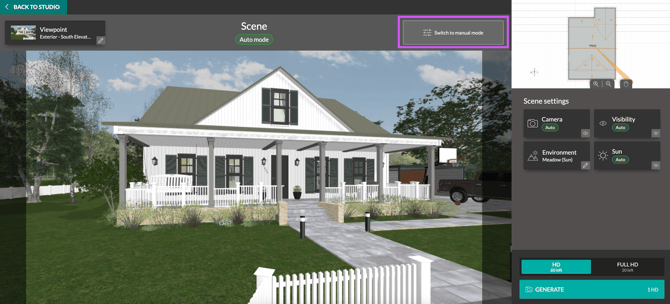
3. The "Scene" window opens by default with the camera type and position, as well as the level, used during the last step.
ℹ️ Remember to switch levels to position yourself on the one where you wish to create your rendering.
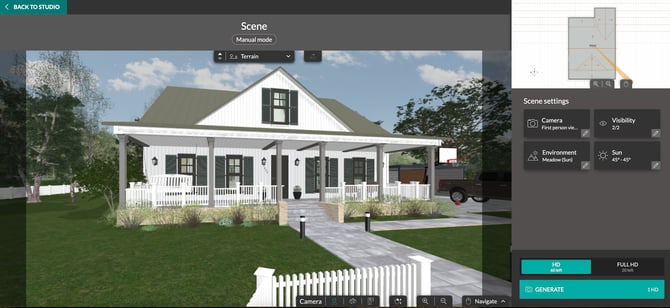
Set up your scene.
You have the option to modify the four scene settings in the right-hand panel: "Camera," "Visibility," "Environment," and "Sun."
Clicking on one of these settings opens a new panel with the corresponding options.
To return to the list of settings, click "Close" at the bottom of the right-hand panel interface.
![]()
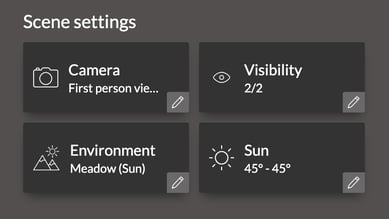
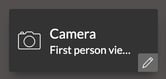
- Camera
The "Camera" setting allows you to define your point of view: camera angle, position, and height.


However, the "Camera" panel allows for greater precision and provides access to the "Focal" setting for the "First person view" camera.
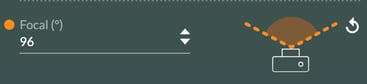
ℹ️ For more details on camera management, see the tutorial: How to Choose a Rendering Camera
- Visibility
This setting allows you to control the elements displayed on the scene.

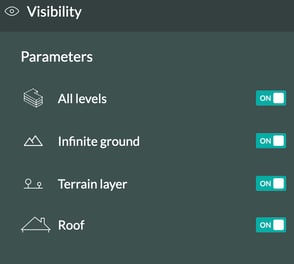
💡To render a top-down view of the house plan, disable the four settings. For a landscape integration, disable "Infinite Ground" to achieve a more realistic render.
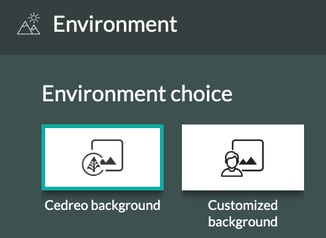
- Environment
This setting allows you to choose the background for your render.
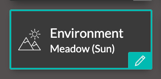
Select a "Cedreo background" or import an image via "Customized background".
ℹ️ For more details, consult the following tutorials:
How to Choose an Rendering Environment
How to Insert a Custom Background content incoming
-
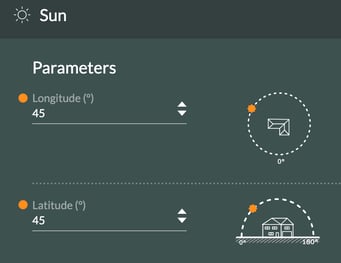
Sun
The "Sun" setting allows you to create a play of shadows on your exterior render or manage the light intensity on an interior render.

You can adjust the orientation of the sunlight using the "Longitude" (sun orientation) and "Latitude" (height) options.
ℹ️ For more details on this subject, check out the tutorial: How to set up the Sun with the Manual Mode
5. Once the scene settings have been adjusted, choose your render format from "HD", and "FULL HD."

⚠️ By default, the format is set to "HD." Check your format before starting a render.
6. Finally, press “Generate” to start creating the visual.
![]()
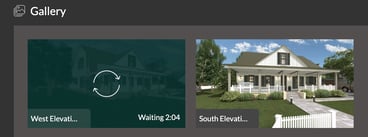
The rendering will appear in the "Studio" step gallery, along with an estimated generation time.
💡You can generate up to two renders simultaneously; there is no need to wait for one to finish before launching another.
If you wish to generate a specific type of rendering using manual mode, you can consult the following tutorials:
- Generate an interior or exterior rendering. Content incoming
- Generate a rendering of your 2D plan. Content incoming
- Generate an aerial view rendering. Content incoming