
ℹ️ For this tutorial, you should be at the Terrain level.
1. Go to the Drawing step, import your plan from the right panel.
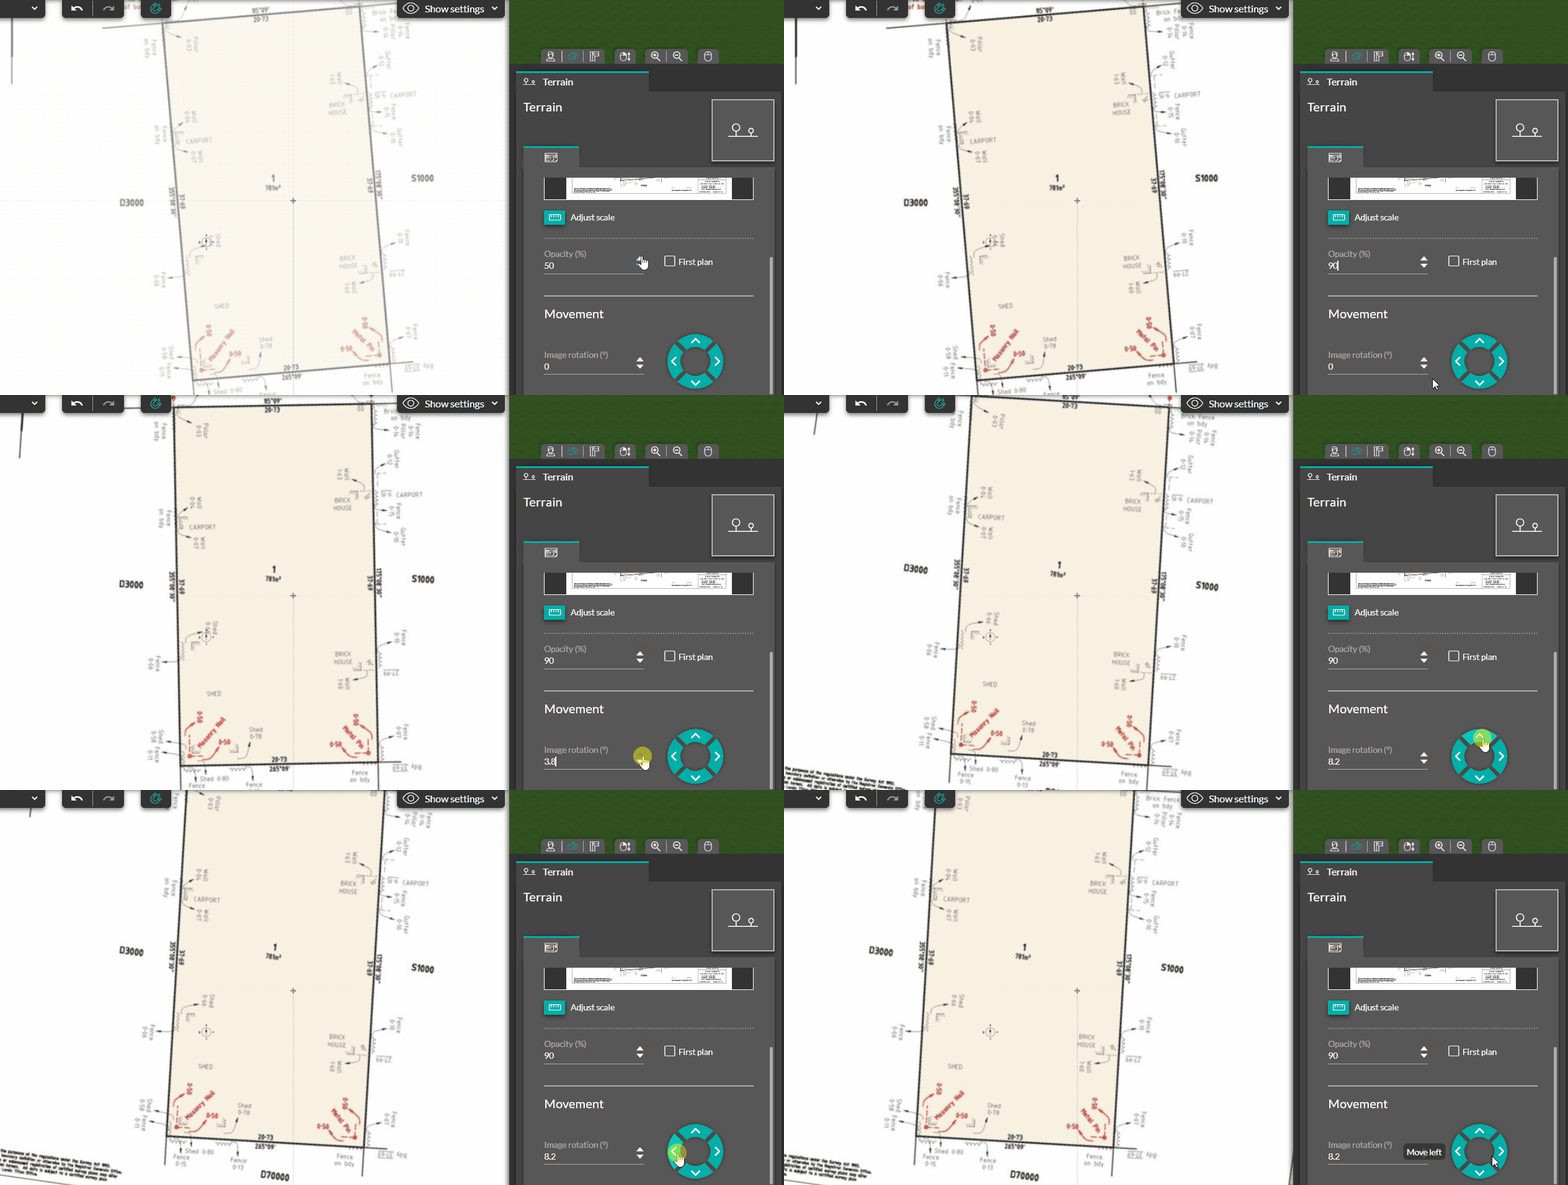
2. Once the layer is imported, you can change its orientation by using the repositioning command.
ℹ️ The applied orientation will be the final orientation of the site plan.
3. You can adjust the opacity of your layer to make it easier to work with by changing the value in the dedicated field or using the up and down arrows.
4. You can also bring the plan to the forefront by checking the "Foreground" box.
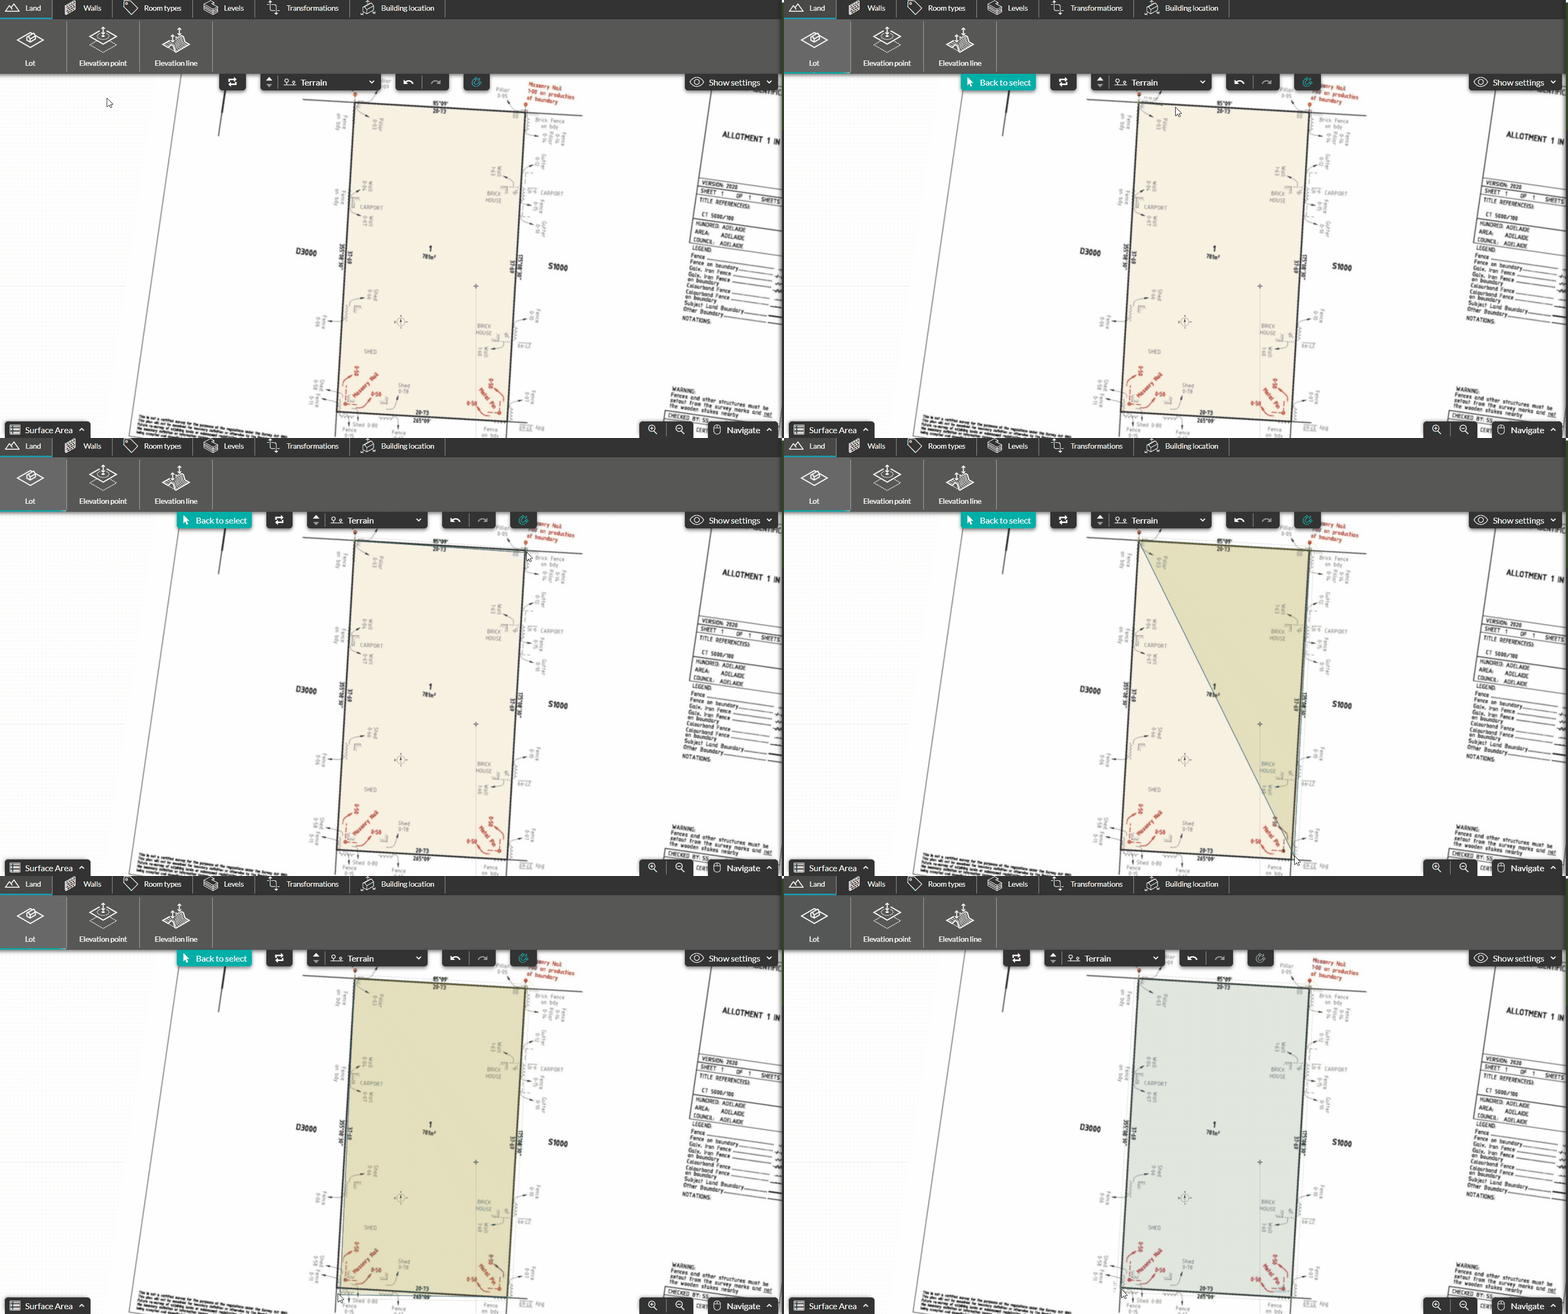
5. Once the layer is correctly positioned, go to the Natural Terrain tool.
6. Click on the "Lot" tool, draw your parcel using the method of 1 click = 1 turn, and finish the drawing with a double click.
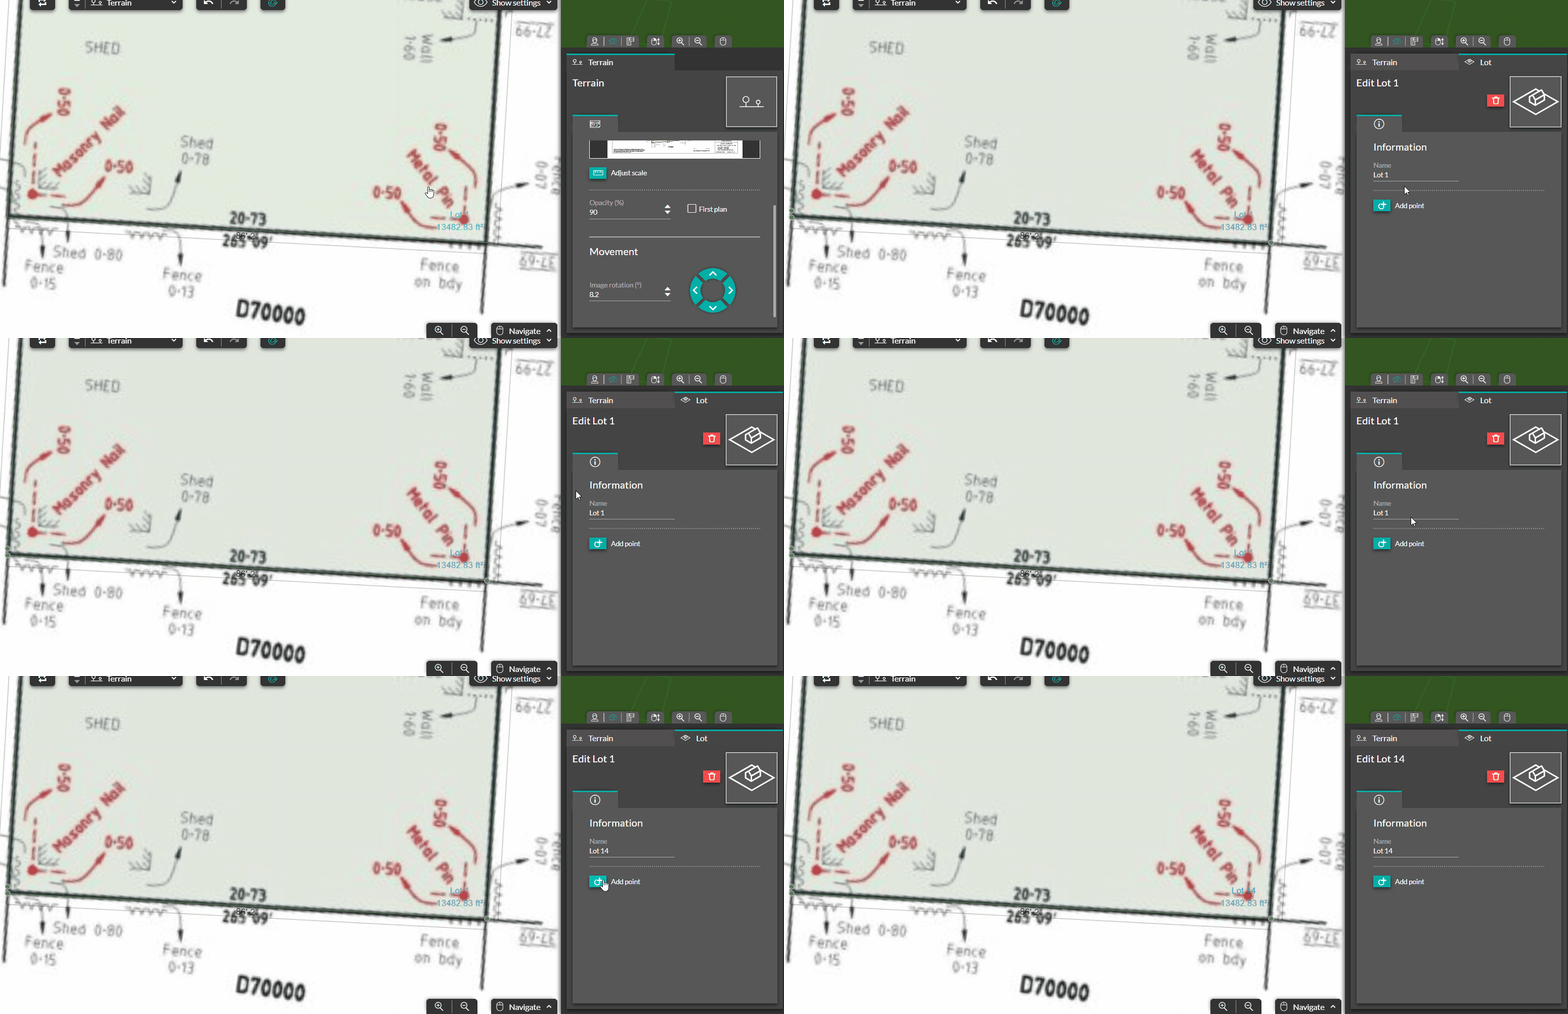
7. By clicking on the lot, you can modify its name in the right panel. The name of this lot can be changed in its options here.
8. You can add a point to your lot to modify its shape by clicking on the dedicated button.
9. Similar to resizing walls and partitions, you can click on a dimension to adjust its length perfectly.
10. In the display menu, you can uncheck "layout" to appreciate the lot in plan view.
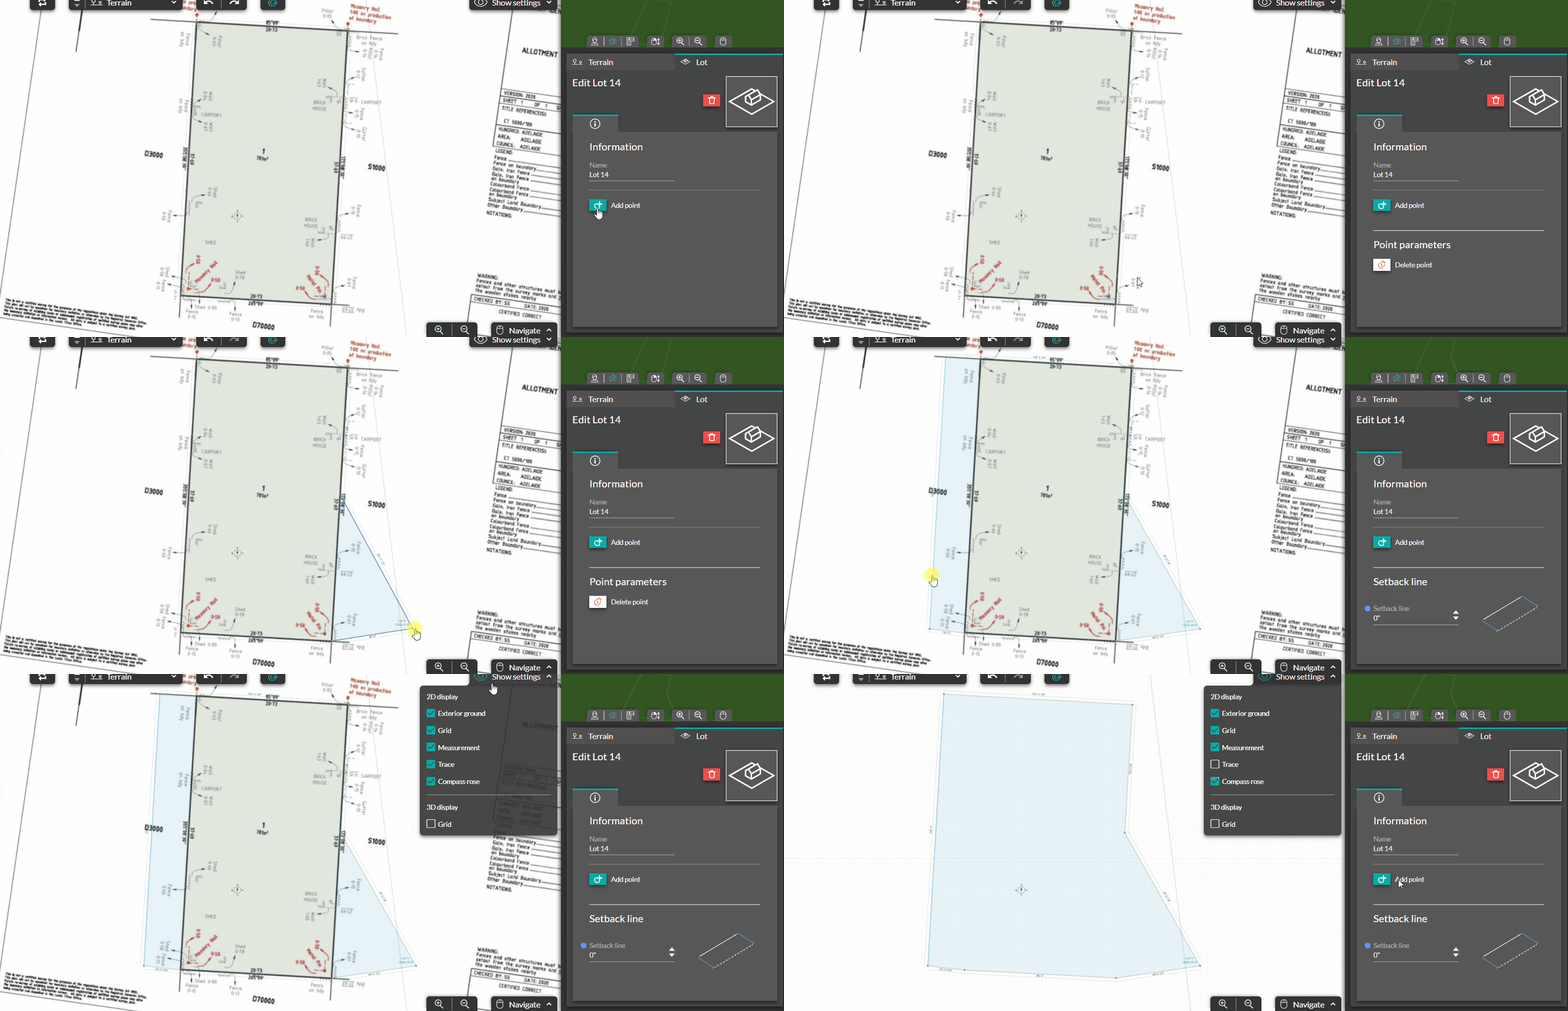
ℹ️ In three dimensions, this lot is represented by a green border.