Step 1 - Represent the spaces under the stairs
1 . In the 'Furnishing' step, from the dedicated catalog, select the desired staircase model.
2 . In the right column, resize the staircase so that it is positioned correctly in your project (relative to your stairwell).

💡 Uncheck the 'Collision' option to freely modify the staircase.
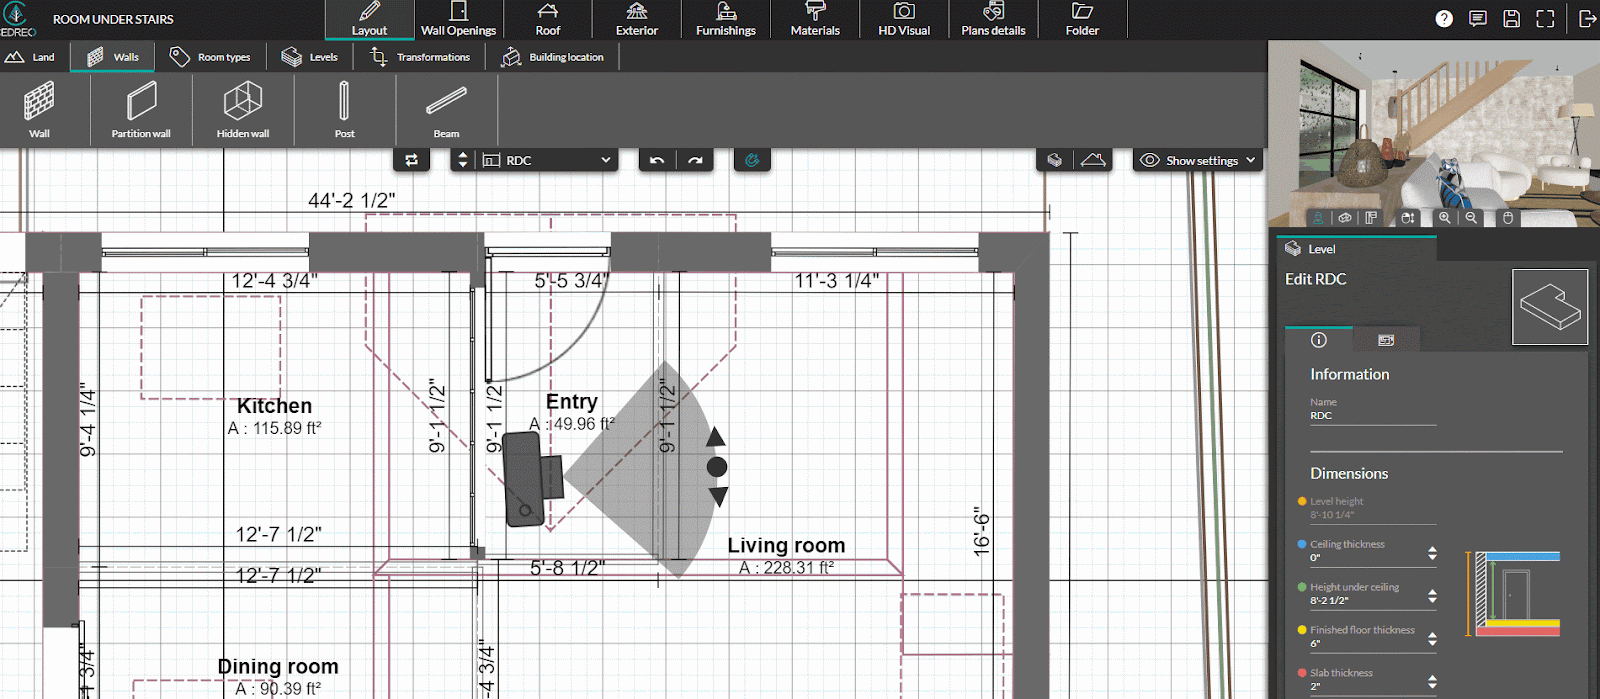
3 . In the 'Layout' step, using the 'Partition wall' tool, represent the space occupied by your room under the stairs. Stop the partition wall where the staircase begins. (for this example; the wall would stop at the staircase quarter turn)
❗ Don't forget to uncheck 'Cut at ceiling level/lining' if this option is activated by clicking on the main partition and unchecking the box in the right hand column![]()
4 . Extend your main partition by drawing a fictional wall to delimit the space occupied by your staircase quarter turn.
Step 2 - Represent the slope under the stairs (cutting the partition walls)
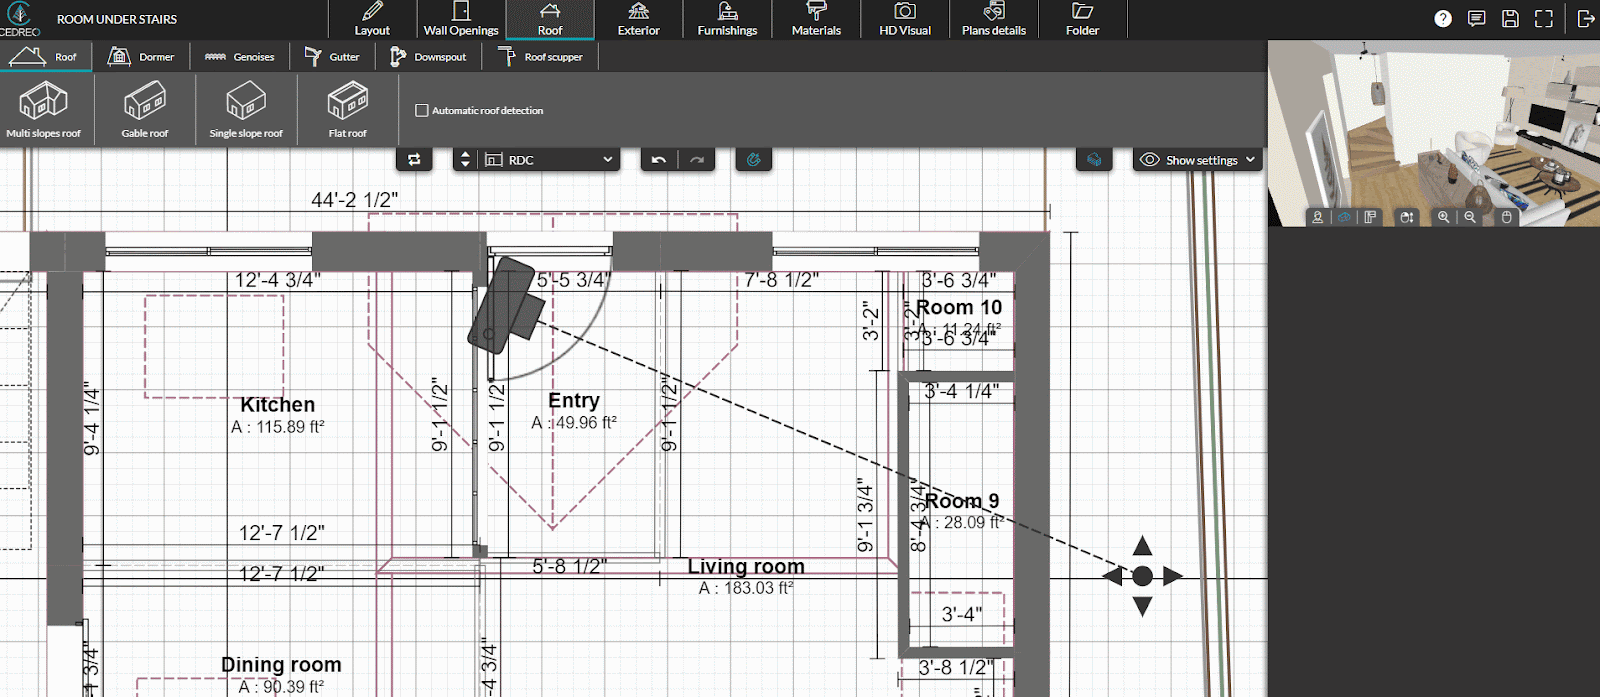
1 . In the 'Roof' step, draw a single slope roof over the partitions representing your space under the stairs.
2 . Adjust the slope/angle of the roof so that the inclination of the roof matches that of the upper part of the staircase.
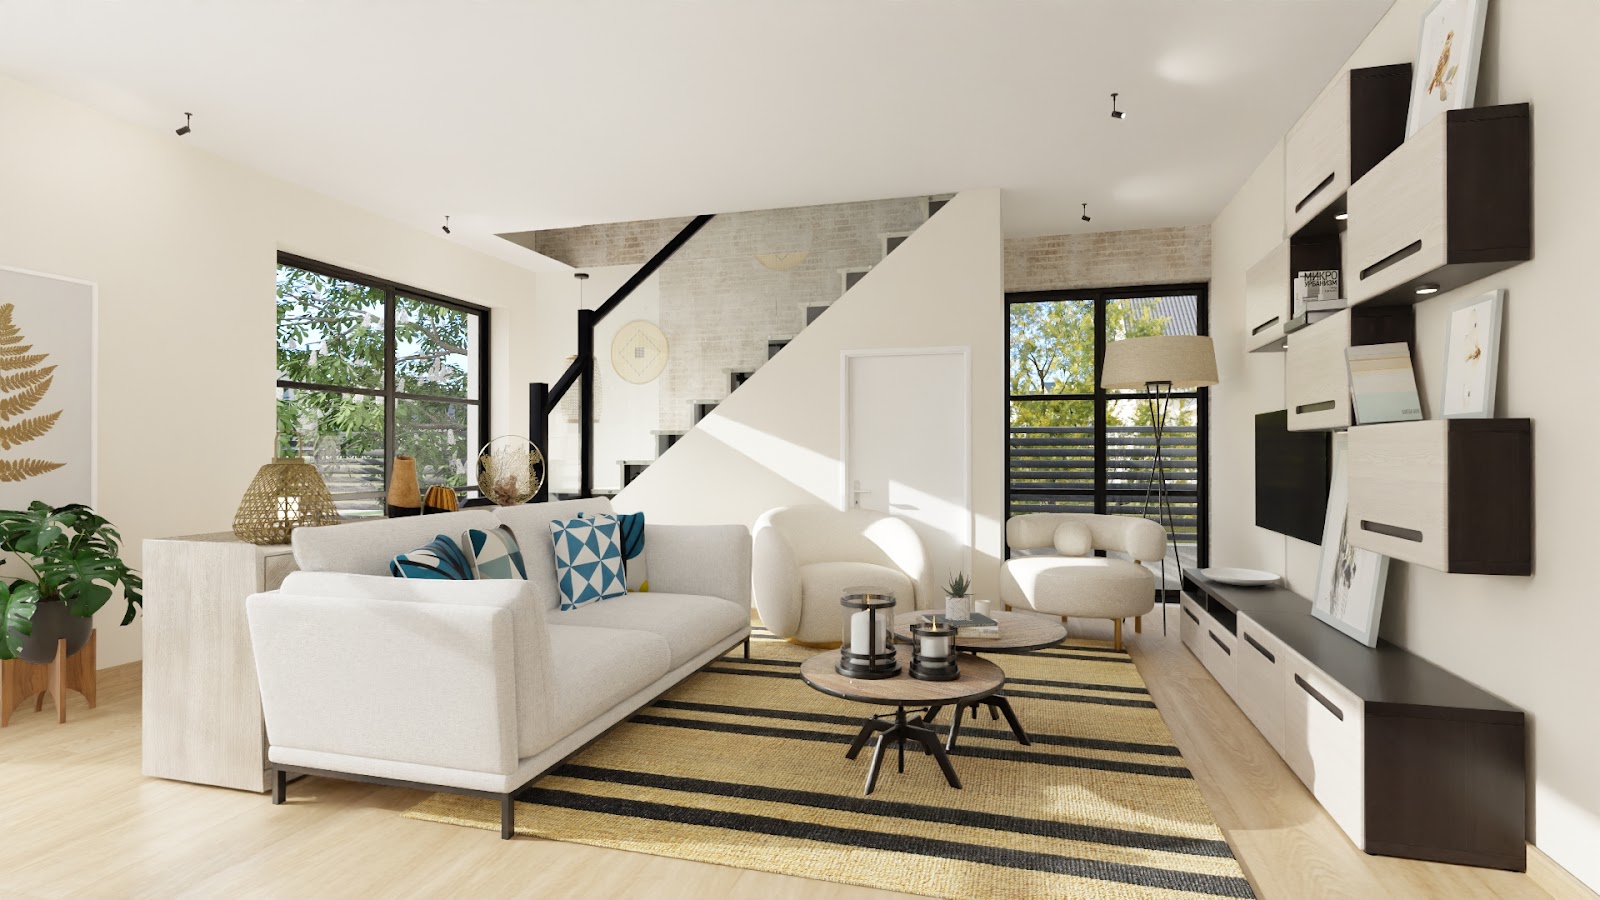
💡 For a better visual effect, do not hesitate to apply the same finish as your walls on your roof covering!
3 . Change the base height so that the lower end of the roof slope is at the same height as the quarter turn of the staircase.
4 . Reduce the thickness of your roof (roof thickness and finished roof ).