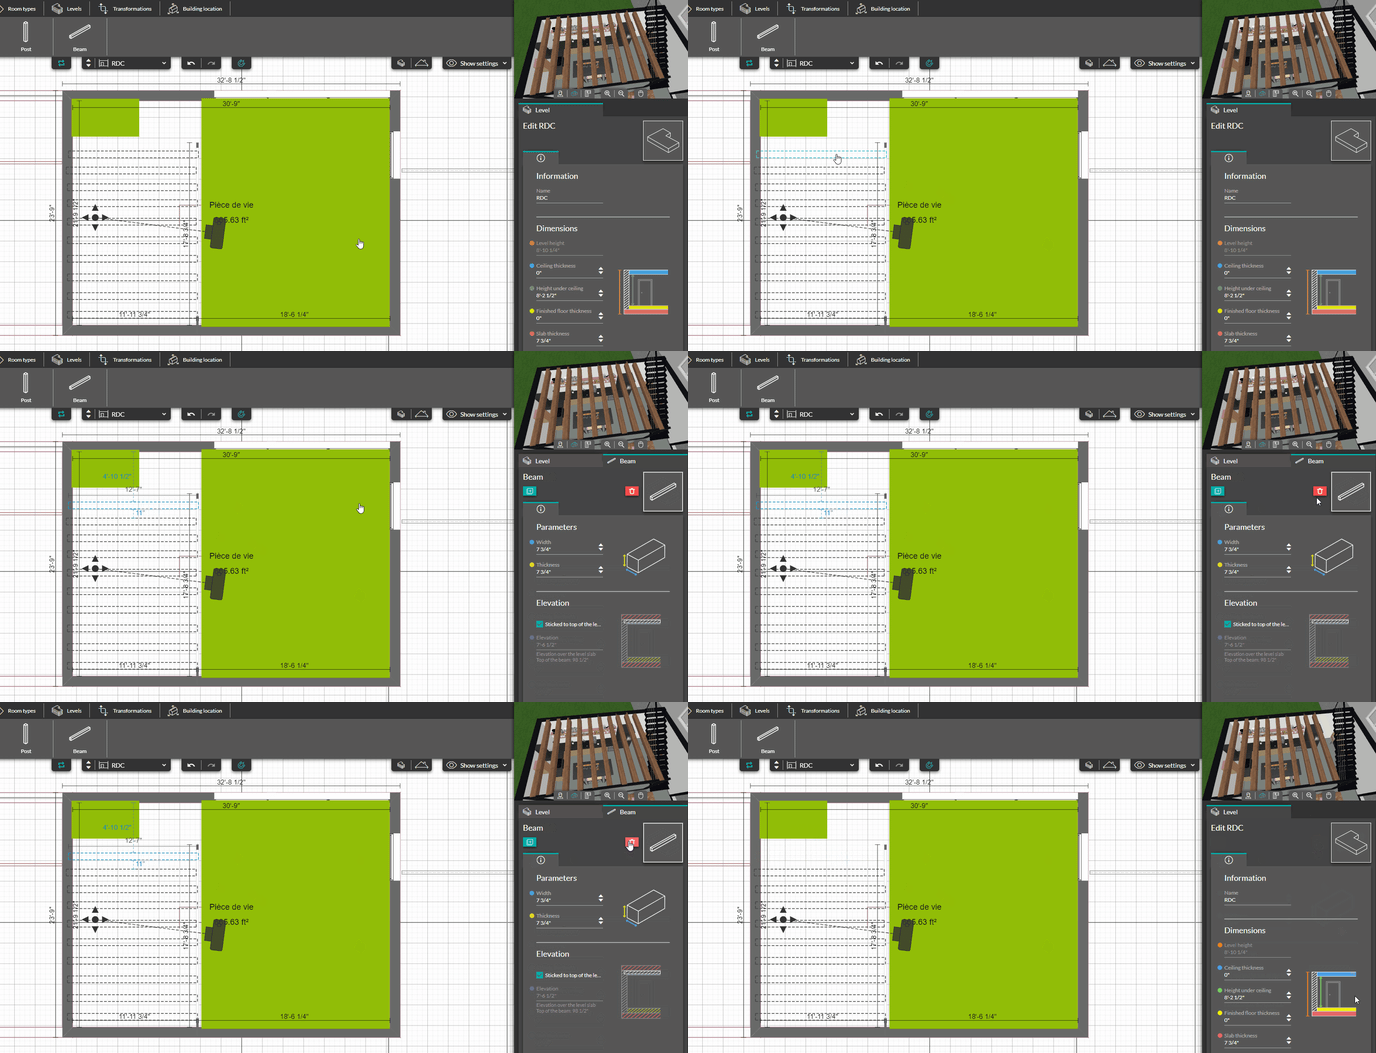
Install beams
INITIAL - From the "Layout" step, you'll be able to place beams both indoors and outdoors.
Create a Beam
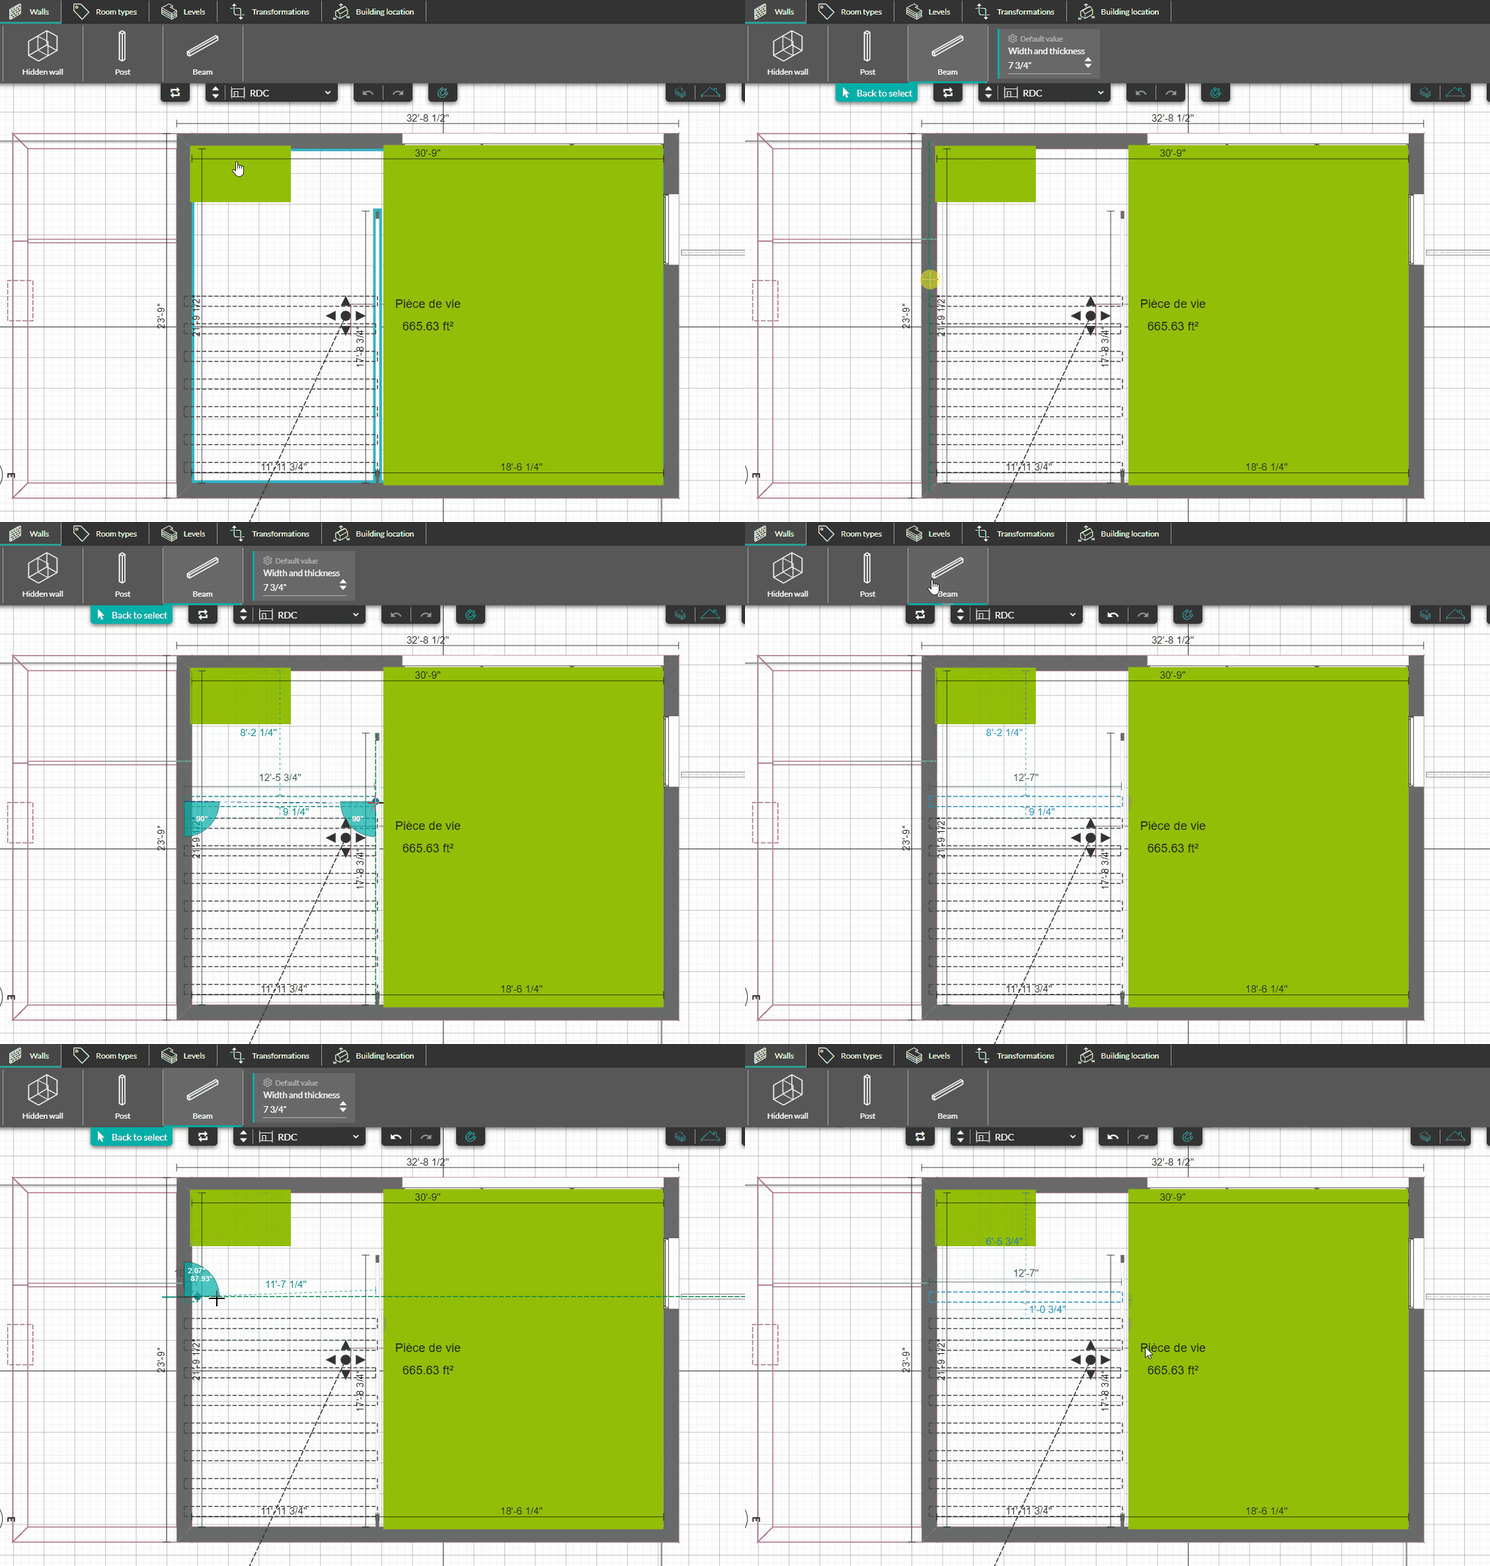
1 - Go to the "Wall" menu in the "Layout" step.
2 - Select the "Beam" tool.
3 - Position the starting point of your beam by clicking once. Then, drag the mouse to the desired length (dimensions will appear to indicate distances relative to different walls and partitions) and confirm with another click.
❗A beam can be placed both inside and outside the building, on all project levels except the "Ground" level.
💡 If you want your beams to be evenly spaced, use the keyboard arrows to move them more easily.
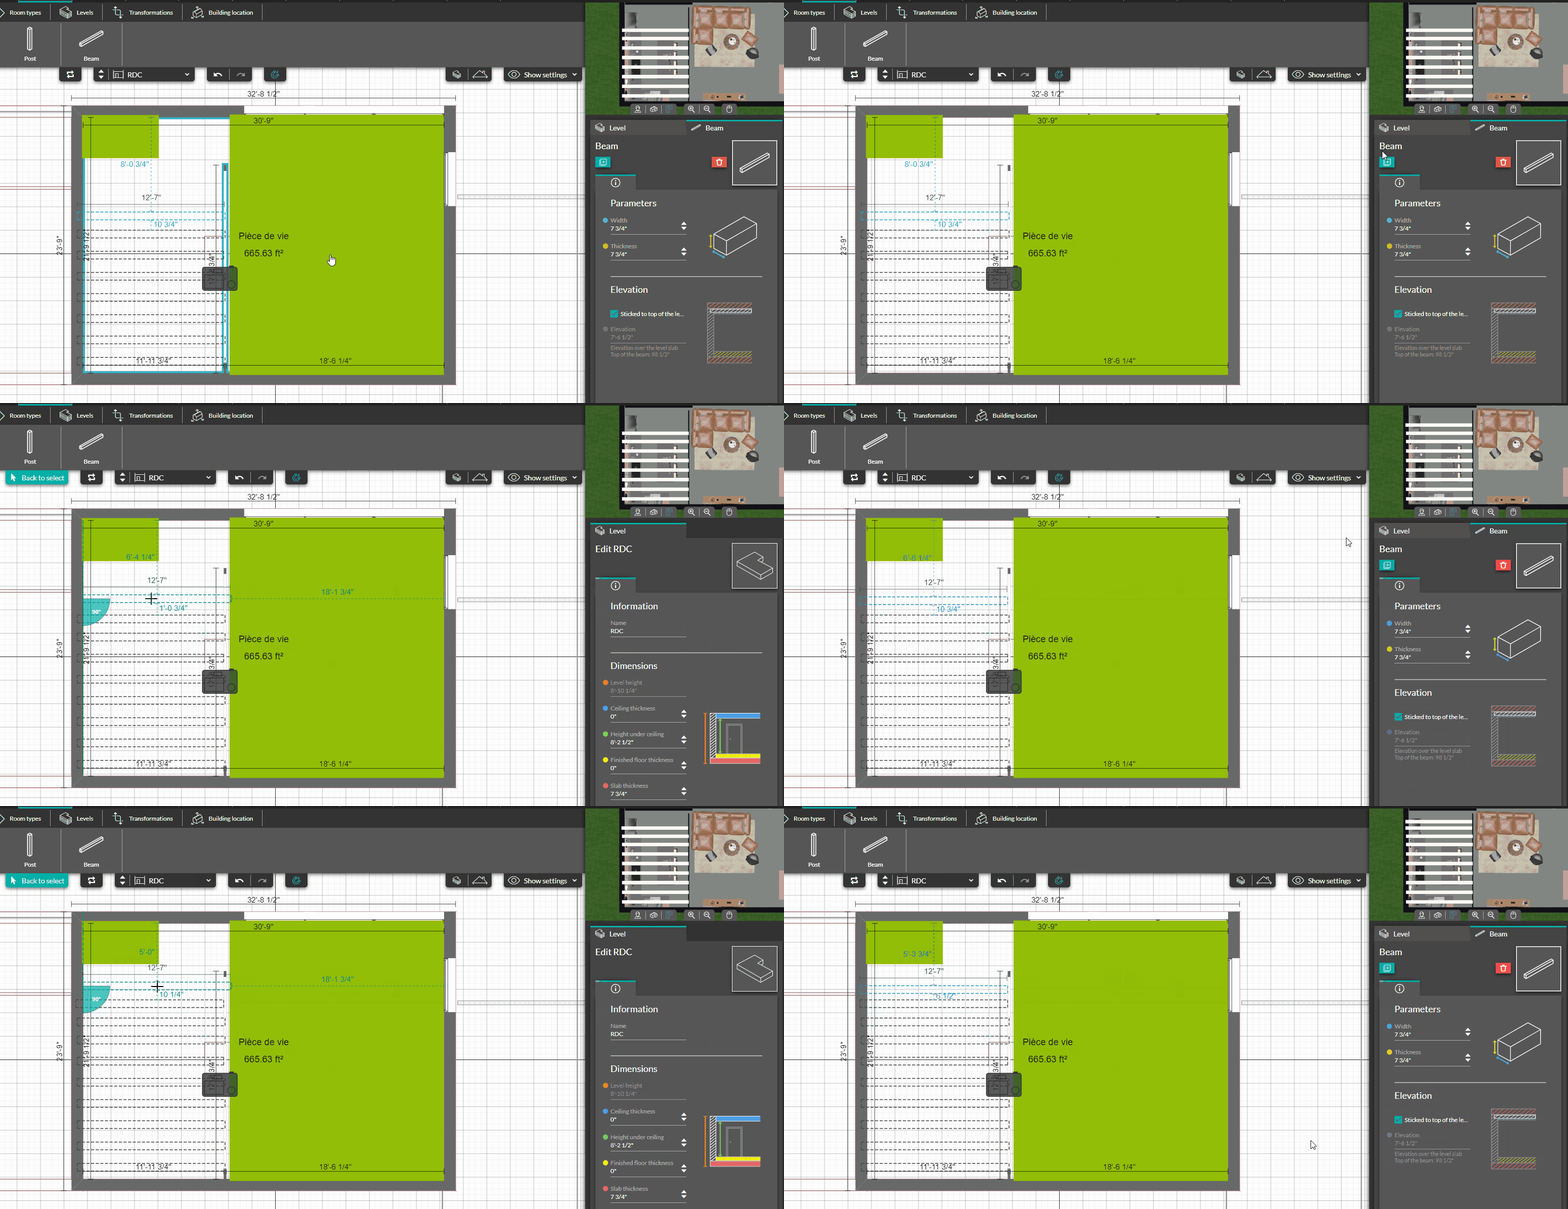
 4 - If necessary, copy the beam by clicking on the "Copy" icon in the configuration panel (a dimension will appear to indicate the spacing between existing beams).
Modify a Beam
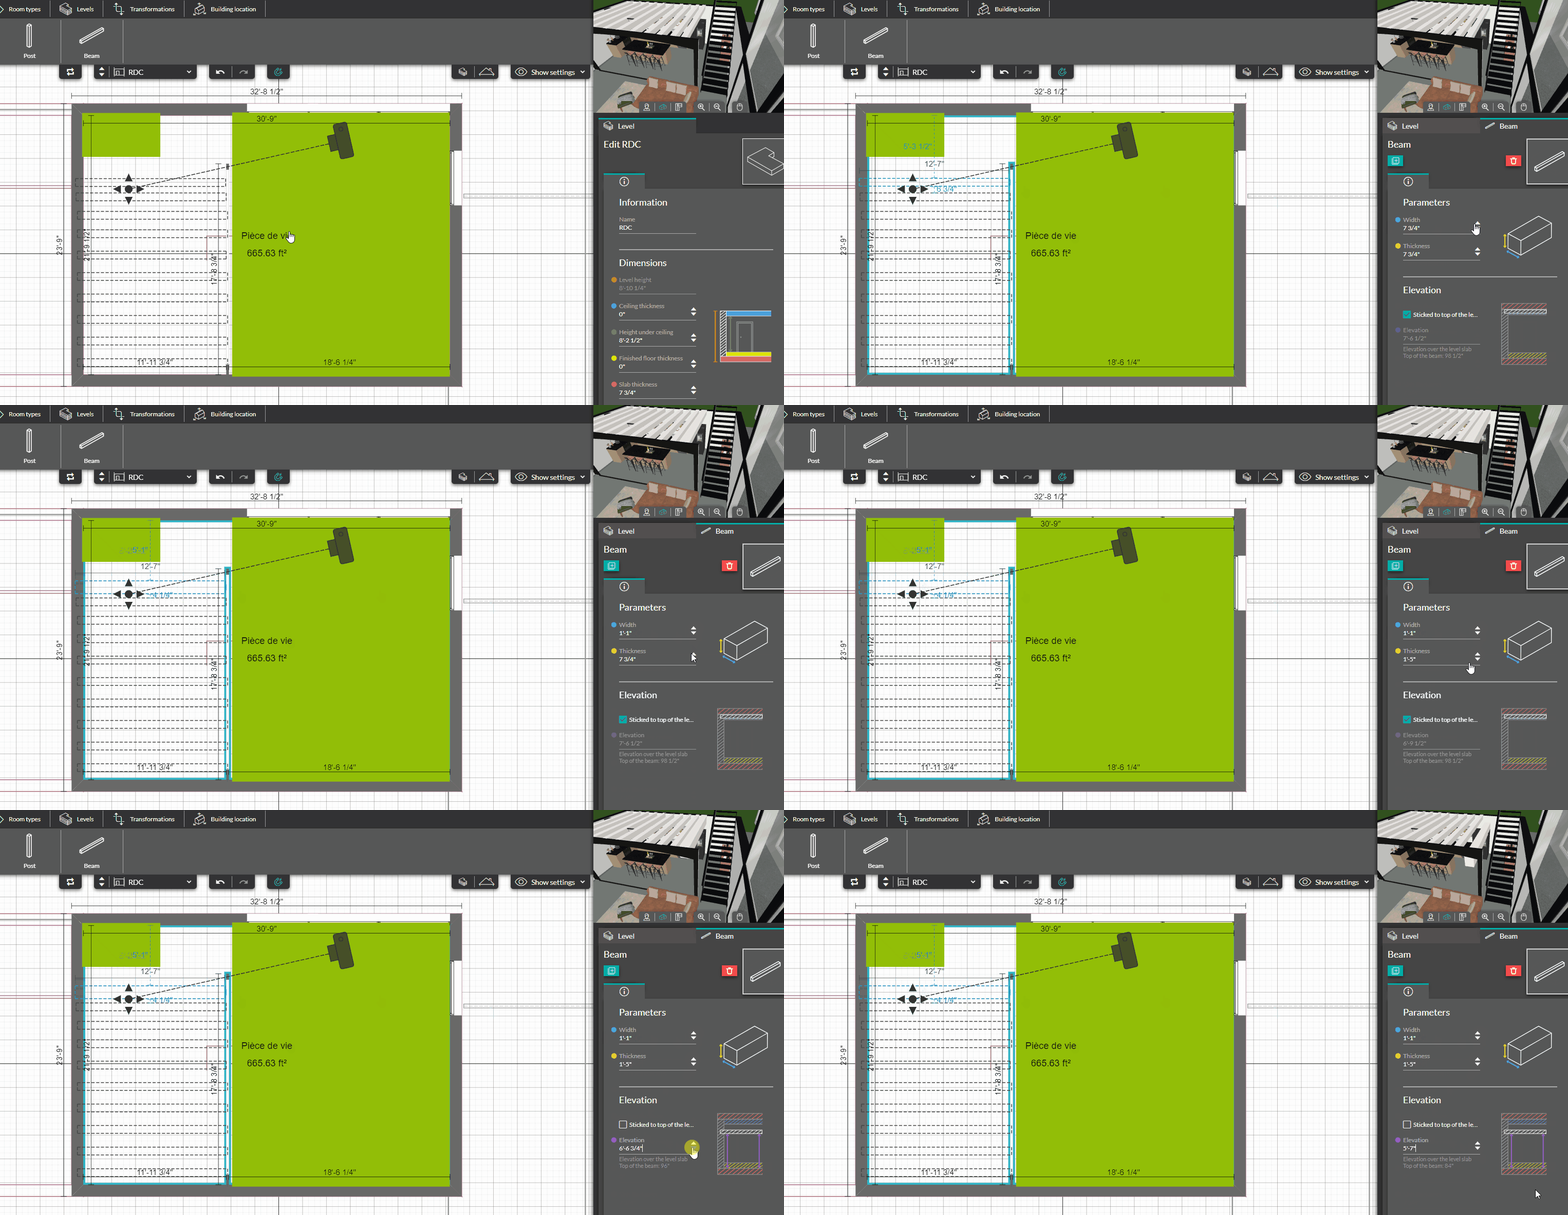
1 - Select the beam you want to modify.
2 - Change its length and width values (using the "up/down" arrows or by entering a value).
3 - By default, the beam is "attached to level. If necessary, uncheck the option and then change your height and elevation values (negative elevation is possible).
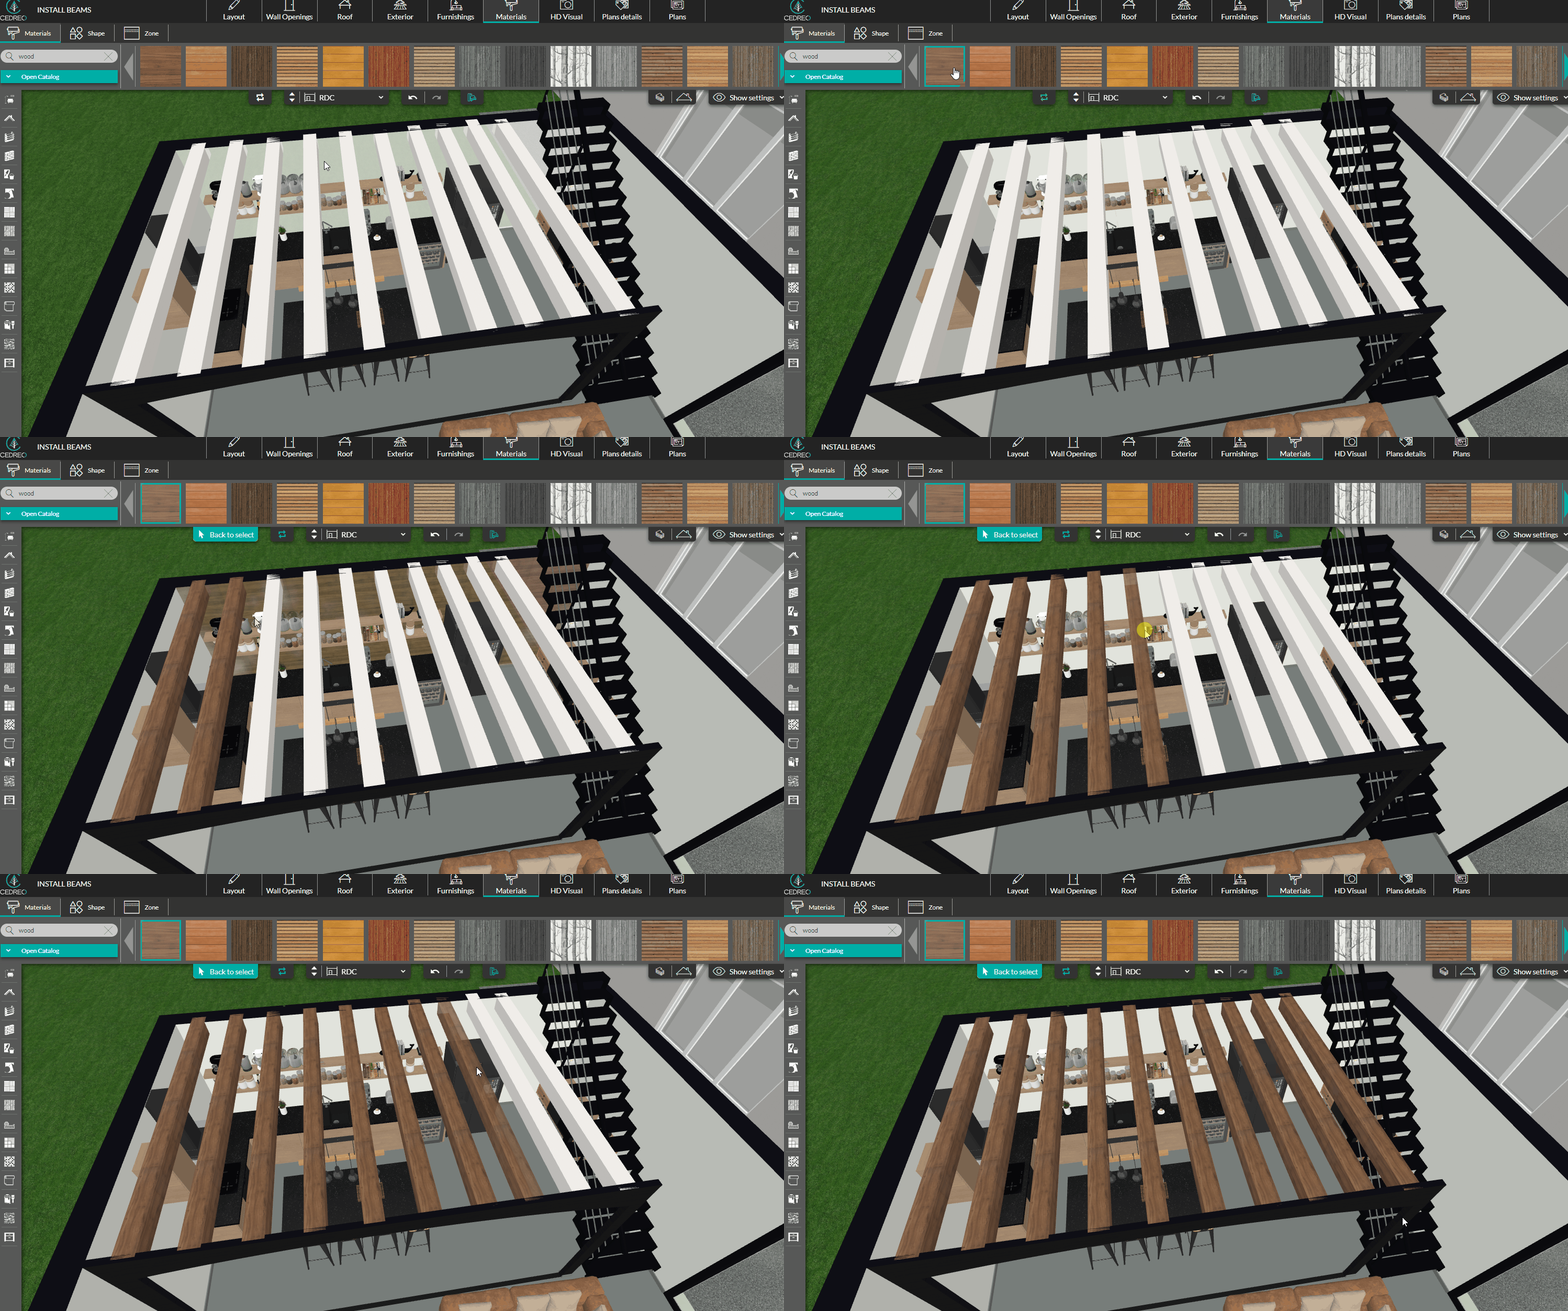
4 - You can change the coating of a beam in the materials step.
Delete a Beam
1 - Select the beam to be deleted.
2 - In the configuration panel, click the red trash can icon to delete the beam.
