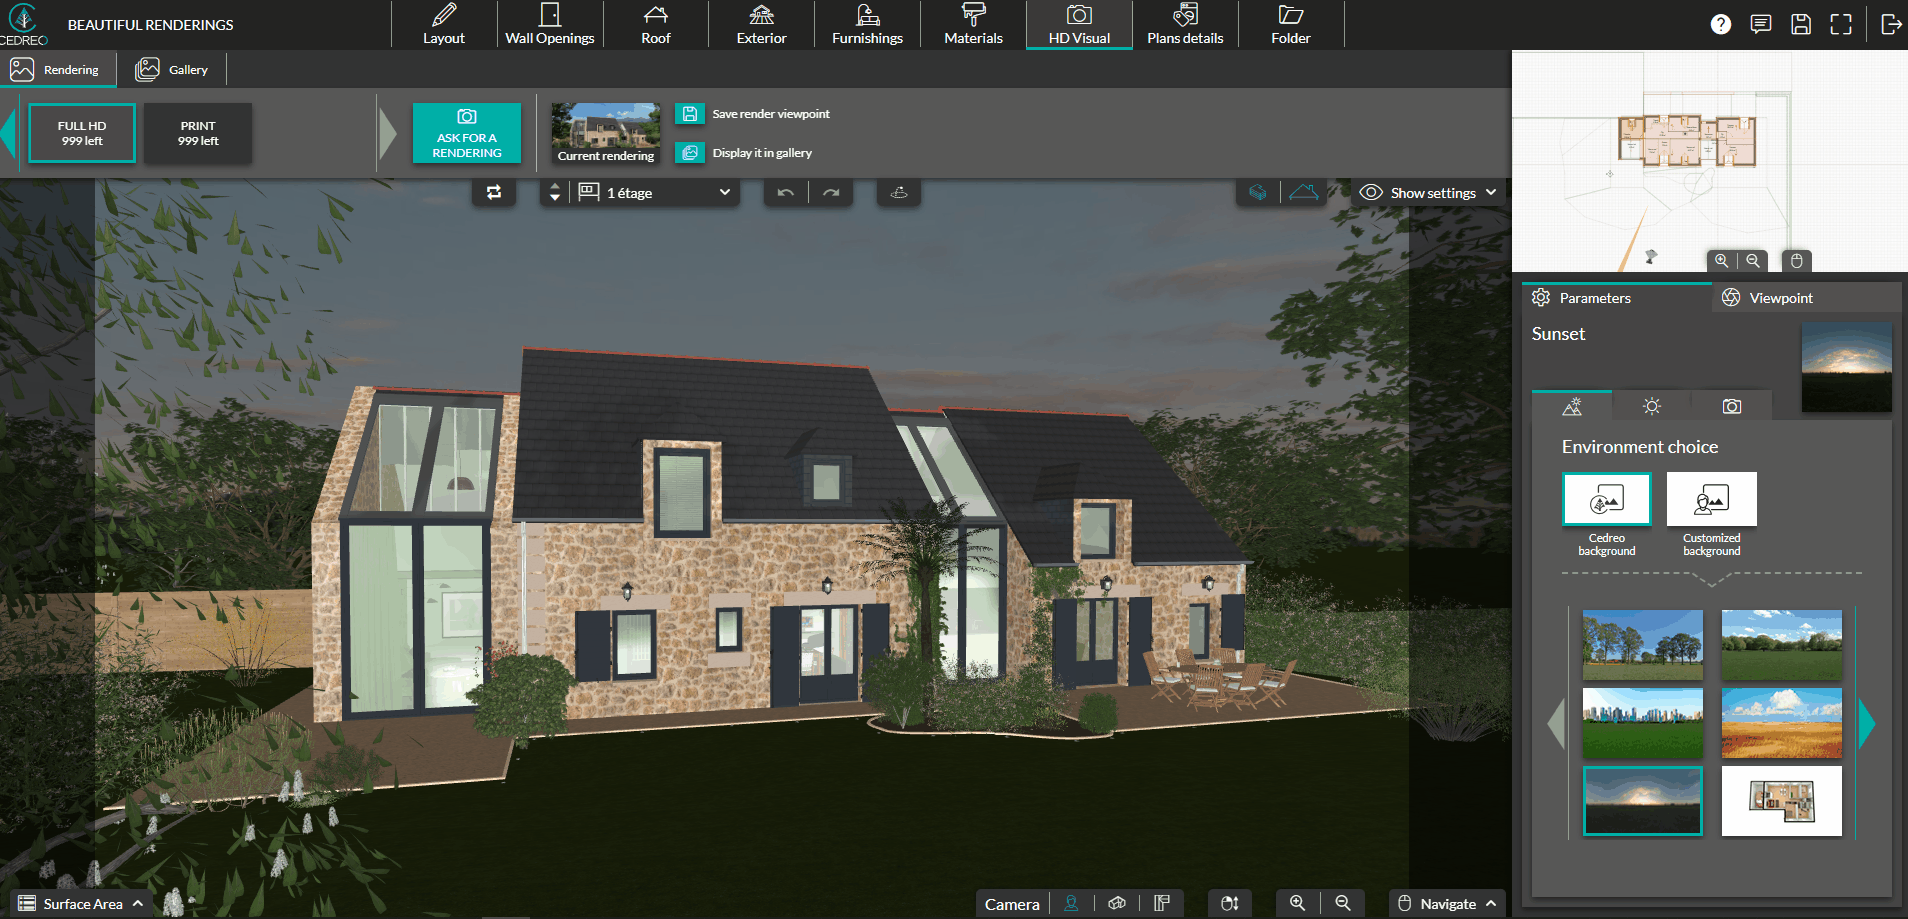
INITIAL - Cedreo offers you 3 types of cameras to visualize your projects in 3D and generate your visuals. Discover their uses and functions
You can find the different cameras at the bottom of your screen, which allow you to view your project from different angles.
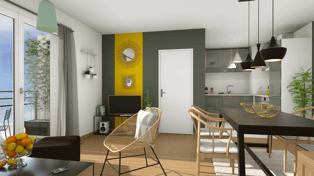
The Eye level
![]() The "Eye level" camera is recommended for a more precise viewing angle. By default, it generates a visual at eye level (5’8”) and maintains the horizontal perspective. This makes it easier for your clients to envision the project.
The "Eye level" camera is recommended for a more precise viewing angle. By default, it generates a visual at eye level (5’8”) and maintains the horizontal perspective. This makes it easier for your clients to envision the project.
To use it:
1. Once the project is finished, go to the HD visual step.
2. Click on the icon representing a person at the bottom right of your workspace.
3. Adjust the height of the perspective (either with the mouse, the navigation panel at the bottom, or the settings in the right column).
💡 Save your perspectives to quickly revisit your visuals later.
The 3D View
![]() The 3D view allows you to see the house from all angles and easily rotate around it. It is very useful for landscaping and house design.
The 3D view allows you to see the house from all angles and easily rotate around it. It is very useful for landscaping and house design.
The 3D view also enables you to create 3D axonometric visuals.
To do this:
1. Unselect upper levels and roofs by clicking on the roof icon and the one with stacked levels (top right). This will give you a view of the interior of the house.⚠️ These features are not available at the "Terrain" level. You need to be on the ground floor or upper floors.
2. Go to the HD visual step
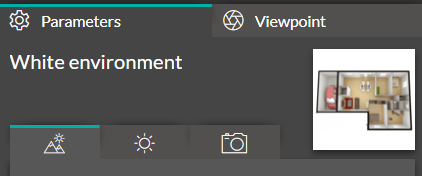
3. (Optional) Select the white environment in the settings at the bottom right to highlight the floor plan and decoration of your house against a neutral background.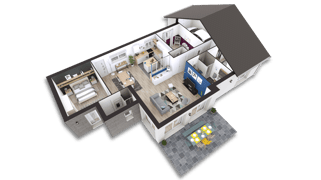 |
 |
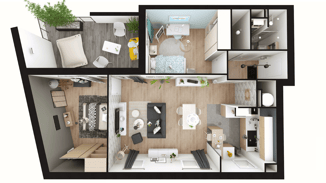
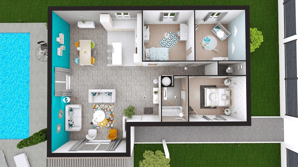
The Top View
![]() The top view provides a high-level perspective that allows you to see the entire interior of the house. This way, you can observe the layout of spaces and their distribution. It is perfect for creating 2D plans.
The top view provides a high-level perspective that allows you to see the entire interior of the house. This way, you can observe the layout of spaces and their distribution. It is perfect for creating 2D plans.
This view also makes it easy to arrange and align your products.
❗To help you master mouse navigation, see this tutorial